REVIEW · NEW YORK CITY
Midtown NYC Photo Safari
Book on Viator →Operated by New York City Photo Safari · Bookable on Viator
Midtown looks different when your camera gets coached. This Midtown photo safari focuses on using your camera more confidently in prime New York City spots, with a professional photographer guiding how to frame famous sights like the Empire State Building and Rockefeller Center. You get a walk that’s built around shooting, not just sightseeing.
I especially like the hands-on instruction—you’re taught photo basics in real time, including how to handle motion like a subway train. I also like the small group size (maximum 8), which helps you get individual attention while you’re clicking away and adjusting on the fly. One consideration: you’ll be standing and walking at a moderate pace, and the experience requires good weather.
In This Review
- Key Highlights You’ll Notice Right Away
- A 3-Hour Photo Safari Built for Better Pictures
- Price and What You’re Actually Paying For
- Meeting at 180 Madison Ave and Getting Around Without a Private Van
- Radio City Music Hall: Turning a Landmark Into a Photo Story
- Rockefeller Center: The Place for Icon Views and Fast Learning
- Rockefeller Center Christmas Tree Stop: Lights, Contrast, and When to Shoot
- Central Park in Midtown: Composition Beyond the Obvious
- How You’ll Learn to Photograph Motion (Subway Trains Included)
- Smartphone and Camera Coaching From a Pro Photographer
- What to Expect With the Group Size and Pacing
- Who This Tour Is Best For (and Who Might Skip It)
- Should You Book the Midtown NYC Photo Safari?
- FAQ
- FAQ
- How long is the Midtown NYC Photo Safari?
- What does the tour cost?
- Where does the tour start and end?
- What landmarks are included?
- Is transportation provided?
- How big is the group?
- What should you consider before booking?
Key Highlights You’ll Notice Right Away
- Small group, real feedback: up to 8 people means the guide can respond to your questions as you shoot
- Midtown landmarks with a purpose: iconic stops designed for photography practice, not passive viewing
- Motion and action practice: instruction includes capturing moving objects like subway trains
- Camera tips for more than one device: you’ll get help for both digital cameras and iPhone-style shooting
- Time built for shooting: the route balances landmark moments with time to try, adjust, and re-shoot
A 3-Hour Photo Safari Built for Better Pictures
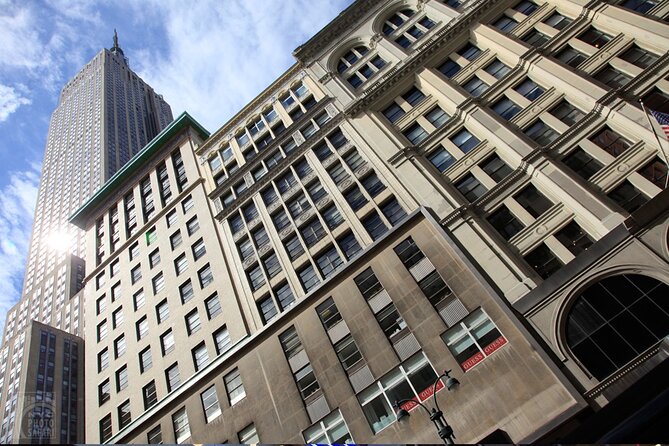
This is a 3-hour Midtown Manhattan session run by a professional photographer instructor. The goal is simple: help you take stronger photos of the big-name architecture and street scenes you came to see. You’re not just told what to photograph—you’re coached on how to make the photo work.
I like that the focus stays practical. You get guidance on composition and on-the-spot technique, which matters because New York changes fast. If you’re using your camera the way most people do while standing in a crowd, you’ll usually end up with one decent shot and a bunch of okay ones. Here, you learn how to turn those same moments into clearer, more intentional images.
And because the group is limited to 8 travelers max, it’s easier to get your questions answered without feeling rushed. In a city like Midtown, that personal attention can be the difference between leaving with a phone full of blurry skyline thumbnails versus photos you’d actually want to print.
You can also read our reviews of more tours and experiences in New York City.


Price and What You’re Actually Paying For
At $125 per person for about 3 hours, this isn’t just a tour ticket. Your cost covers a few key things that add value fast: instruction from a pro photographer and one way subway fare.
The smart way to think about the price is what you’re buying with your time:
- You’re paying for guided technique, not only for access to famous views
- You’re getting help figuring out composition while you’re still in front of the scene
- You’re using public transit as part of the shooting plan, rather than guessing how to move around on your own
If you’ve done Midtown the self-guided way before, you know the usual pattern: arrive, take a couple photos, walk to the next landmark, and hope the light cooperates. This kind of workshop pays off when you want to return home with images that look intentional—especially if you’re trying to improve beyond the basics.
Meeting at 180 Madison Ave and Getting Around Without a Private Van
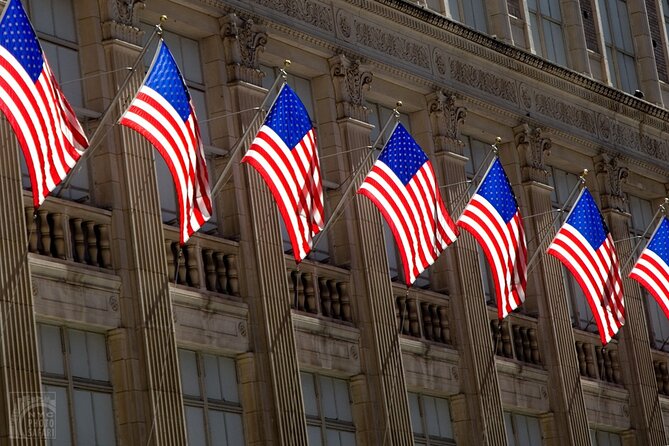
The tour starts at 180 Madison Ave, New York, NY 10016, and it ends back at the same meeting point. That end point matters because it means you’re not stranded across town after the session. You can hop right back into your own plans once you’re done.
Transportation is part of the design, too. You get one way subway fare included, and there’s no private transportation provided. So you should be comfortable using the subway and navigating on foot for a few parts of the route.
The experience is also noted as being near public transportation, which is helpful if you’re combining it with other Midtown stops later. In practice, you’re likely to spend the time moving around the city core while stopping for photos, rather than riding in a vehicle the whole way.
Radio City Music Hall: Turning a Landmark Into a Photo Story
Your first major stop is Radio City Music Hall. This kind of location is perfect for a workshop because it offers strong lines, big surfaces, and classic Midtown drama. Even if you know the building, it can be hard to photograph well when people are moving around and angles are limited.
This stop is where you can practice building a photo from scratch:
- Think about how you frame the building so it doesn’t look like a random snapshot
- Watch how your guide positions you for a cleaner view
- Use the workshop moment to adjust your composition before you move on to the next iconic target
The real value here is learning how to work with the scene in front of you. Instead of hunting for a single postcard angle, you learn what to look for: leading lines, spacing, and how your camera captures depth in a dense city block.
Rockefeller Center: The Place for Icon Views and Fast Learning
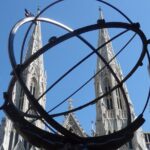
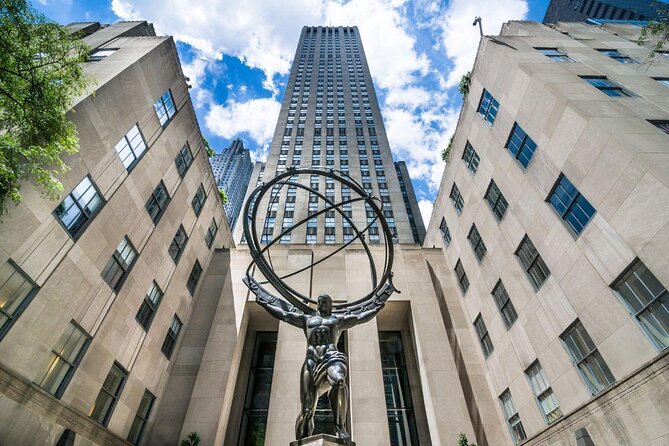
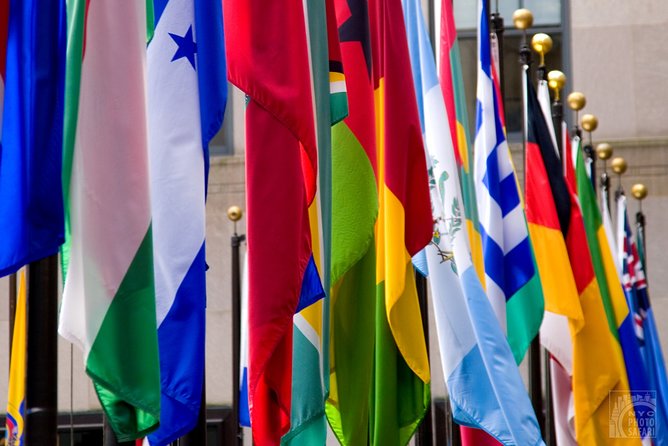
Next comes Rockefeller Center, a top-tier photo area because it gives you multiple compositions in a relatively tight zone. You’re likely to see more than one classic view here, and the workshop format helps you practice choosing the shot you really want instead of just collecting images.
This is also a key area for learning how to capture Midtown’s skyline icons. The overview specifically calls out photos of the Empire State Building, and the guide’s job is to show you how to include it as more than a distant dot.
One thing I appreciate about teaching like this: you learn to slow down just enough to notice structure. You stop treating the skyline like a background and start treating it like part of your composition. That shift can make a basic city photo look more like a deliberate scene.
And since the group stays small, you can get feedback while you’re still standing there. That’s important because if you only get advice after you’ve walked away, you lose the chance to re-shoot with better framing.
Rockefeller Center Christmas Tree Stop: Lights, Contrast, and When to Shoot
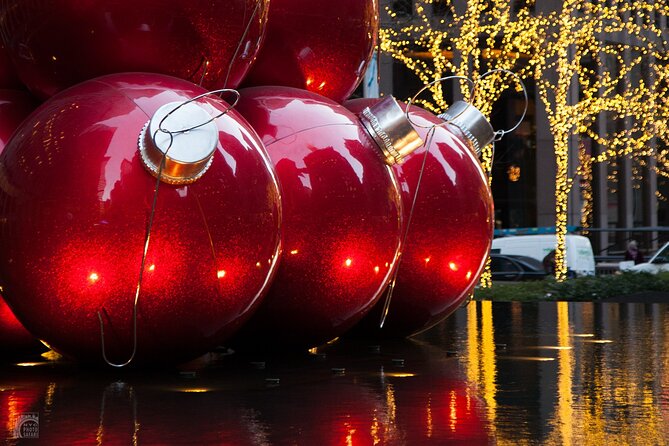
You also make a dedicated photo stop for the Rockefeller Center Christmas Tree area. The key point for your photos is that this is a high-contrast, attention-grabbing scene. If you’re shooting at night or in bright holiday lighting, the challenges are different than daytime skylines.
Even without getting into camera settings you may not know yet, the workshop approach matters:
- You learn how to handle challenging light and bright highlights
- You practice how to keep your subject clear while the scene around it stays busy
- You get guidance on making neon-like lighting feel intentional rather than washed out
This is a great place to experiment. You’ll have landmarks in front of you, plus enough light and motion in the street scene to learn how to keep photos from turning into blur or glare. It’s one of the reasons photo tours like this can feel more valuable than a standard walk: you’re practicing under the hardest conditions while you still have a coach next to you.
Central Park in Midtown: Composition Beyond the Obvious
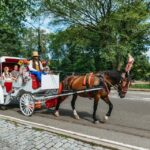
After the Rockefeller Center area, you head to Central Park. Yes, it’s still Midtown energy, but Central Park changes the feel. It’s not just about famous buildings anymore; it’s about finding compositions that look good even when your subject is smaller than the skyline.
This is where I think the workshop can really pay off, because the technique you learn at big landmark stops transfers. You practice framing, and you also learn how to create a photo that holds attention even when there’s no single giant icon filling the frame.
The guide’s role continues here: helping you turn what you see—paths, greenery, surrounding structures—into a photo that feels planned. If you only know how to shoot skylines, Central Park can teach you how to shoot a story in the city’s middle instead.
How You’ll Learn to Photograph Motion (Subway Trains Included)
One of the standout promises here is learning how to capture moving objects like a subway train. Midtown is full of motion—fast, noisy, and unpredictable—so it’s hard to improve without instruction.
In this safari format, the motion lesson isn’t just theory. You learn how to approach action shots, including how to plan your timing and how to think about what you want the motion to do in your photo. Do you want the train to feel crisp? Do you want a hint of movement? You’ll be coached toward decisions that match the look you’re after.
A review also highlighted learning ways to photograph photo-subway activity and neon signs, which fits how Midtown works: once you start shooting action and light together, you start understanding why photos can look dull or messy if you don’t control your framing and focus.
The best part is that you’re not stuck experimenting alone. You get feedback while you’re trying, and that’s usually where real improvement happens.
Smartphone and Camera Coaching From a Pro Photographer
This workshop is for different tools. Reviews specifically mention learning both digital camera use and iPhone camera use, and that’s a big deal because many city photo tours assume you’re using a traditional camera.
When you get coached, you learn the fundamentals that work no matter what you’re holding:
- How to compose so your subject isn’t swallowed by the scene
- How to adjust framing so the photo reads clearly
- How to plan your shot in the moment, while the city keeps moving
One review also named the instructor Zim, and described the experience as full of helpful, patient advice. That kind of coaching style matters because Midtown photography can be frustrating. People bump into your angle. Light changes. Your first few attempts might not work. Having someone guide you through repeated tries can turn those frustrations into progress.
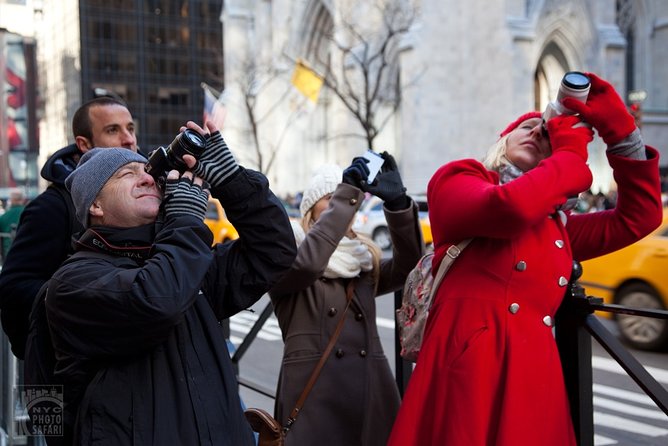
You also get individual attention and picture review as you click, which helps you correct mistakes quickly. That feedback loop is what makes this feel more like a workshop than a walk with stops.
What to Expect With the Group Size and Pacing
The tour caps at 8 travelers, which means the guide can manage the group while still giving you direct help. It also means you’re less likely to get ignored when you’re trying to figure out framing or technique.
You should also be prepared for moderate physical fitness. This is a walking-and-shooting experience, and you’ll spend time stopping for views and practicing. Midtown can be tiring even on short walks, so it helps to plan around standing, moving between stops, and waiting a minute for a good moment.
The overall duration is about 3 hours, which is long enough to learn and practice, but not so long that you lose your focus. If you like structured time in a city, this length usually works well: you’ll cover multiple major photo areas without burning a whole day.
Who This Tour Is Best For (and Who Might Skip It)
I think this is a smart fit if you want to:
- Improve photo technique quickly in a high-impact area like Midtown
- Learn how to handle motion and busy lighting conditions
- Get small-group coaching instead of guessing on your own
- Photograph with a traditional camera or an iPhone and still get useful instruction
You might consider skipping it if you already feel confident shooting Midtown scenes and you mainly want casual sightseeing. A workshop-style tour works best when you’re willing to stop, try, reframe, and take advice while you’re in the right spot.
It also helps if you care about getting photos you can be proud of, not just proof-of-life images. This tour’s whole design is built around making your photos look like you meant them.
Should You Book the Midtown NYC Photo Safari?
Book it if you want to leave Midtown with photos that look planned, not accidental. For $125, the included pro instruction plus one way subway fare makes it a practical value if you’re serious about learning how to shoot landmarks and action in New York.
I’d especially lean toward booking if you want help with tricky parts of city photography: composition when buildings crowd your frame, and motion shots like subway activity. The small group limit (max 8) plus real picture feedback is the kind of advantage that’s hard to recreate on a self-guided day.
FAQ
FAQ
How long is the Midtown NYC Photo Safari?
It lasts about 3 hours.
What does the tour cost?
The price is $125.00 per person.
Where does the tour start and end?
It starts at 180 Madison Ave, New York, NY 10016, USA, and it ends back at the same meeting point.
What landmarks are included?
The photo stops include Radio City Music Hall, Rockefeller Center, Rockefeller Center Christmas Tree, and Central Park. The tour also focuses on photographing famous Midtown landmarks such as the Empire State Building.
Is transportation provided?
Private transportation is not included. One way subway fare is included.
How big is the group?
The tour has a maximum of 8 travelers.
What should you consider before booking?
The experience requires good weather and a moderate physical fitness level.