REVIEW · NEW YORK CITY
3-Day Immersive Photography Workshop in New York City
Book on Viator →Operated by New York City Photo Safari · Bookable on Viator
NYC night lights are made for photos. This 3-day Manhattan photo workshop sends you to big-name scenes like the Brooklyn Bridge and Top of the Rock with structured day and nighttime shooting, not just wandering with a camera. It’s designed for people who want real improvement in how they see and shoot the city.
I like the Nuts and Bolts start. You get camera-setting basics tied to what you’ll actually photograph next, including aperture and shutter speed. I also like the teaching tone—your instructor (one guide name you may see is Zim) focuses on turning each landmark stop into practice, not a checklist of tourist shots.
One possible drawback: the schedule is serious. Expect 12–13 hour days away from your hotel, plus lots of walking and shooting with minimal downtime. If you’re not in good physical shape, this can feel like a long workout disguised as photography.
In This Review
- Key takeaways before you book
- The big draw: a photography course built around NYC icons
- The training plan: Nuts and Bolts, then day/night shooting
- Brooklyn Bridge in two lights: the best kind of practice
- Skyline time: Top of the Rock by evening and again from Brooklyn
- Midtown essentials: Flatiron, Empire State, Radio City, and Rockefeller Center
- Central Park sessions: variety inside the city grid
- Lower Manhattan through Chinatown and the Lower East Side
- Times Square, the New York Public Library, and “problem spots” made useful
- Gear, techniques, and why the tripod rental matters
- Fitness, timing, and group size: what the week feels like
- Price and value: is $1,223.41 worth it?
- Practical tips so you get more out of every stop
- Should you book this NYC photo workshop?
- FAQ
- How long is the photography workshop?
- What does the workshop cost?
- What’s included in the tour besides the photographer guide?
- Will I be able to photograph the Brooklyn Bridge and NYC skyline?
- How much walking and shooting should I plan for?
- How big is the group?
- Is this suitable for beginners?
- Are meals and accommodation included?
- Is the workshop canceled if the weather is bad?
- What happens if I need to cancel?
Key takeaways before you book
- Day-and-night Brooklyn Bridge shooting so you learn how the same subject changes with light
- Top of the Rock admission plus skyline views from above and again from Brooklyn’s angle
- A real “Nuts and Bolts” session that connects camera settings to what you’ll shoot next
- Tripod rental for two night tours so you can try long exposures without packing heavy gear
- Tight group size (max 8), which helps when you need quick feedback on your settings
The big draw: a photography course built around NYC icons
A lot of NYC photo tours are basically sightseeing with a guide holding a vague “tips” sign. This one is different because the city is the classroom, and you’re there to shoot for hours each day. The goal is to help you get from good intentions to consistent results—how to choose settings, what lens choices matter, and how to handle tricky city lighting.
You’ll hit the kind of places that define a first trip to New York City: Brooklyn Bridge, Rockefeller Center, Grand Central Terminal, Times Square, the New York Public Library, and the Flatiron Building. The difference is that you don’t just pose. You practice angles, framing, and exposure in both daylight and at night, when the city really starts speaking in neon and reflections.
You can also read our reviews of more city tours in New York City

The training plan: Nuts and Bolts, then day/night shooting
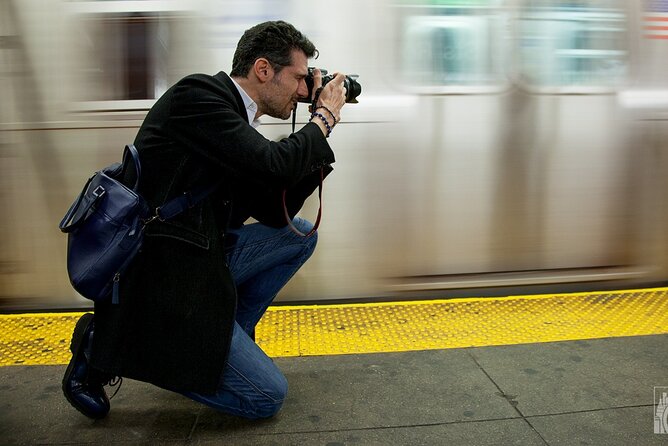
Your 3-day photo workshop runs like a boot camp, not a leisurely walk. It begins with a “Nuts and Bolts session” built around practical fundamentals—how to use your camera settings like aperture and shutter speed, and how to apply those choices to real city scenes.
After that, your days split into daytime shooting sessions and nighttime shooting sessions. That matters because many photographers mess up at night: they keep the wrong settings, forget to compensate for moving light, or rely on auto and hope for the best. Here, nighttime shooting is part of the curriculum, so you can learn a repeatable workflow.
Expect a rigorous pace:
- You’ll be away from your hotel about 12–13 hours each day
- You’ll shoot roughly 6–9 hours daily
- You’ll walk around 3–4 miles per day
- You’ll take 250+ pictures daily
There’s learning in that volume. You don’t just get one perfect frame. You build a pattern: try a setting, see how it changes the image, adjust, and try again.
Brooklyn Bridge in two lights: the best kind of practice
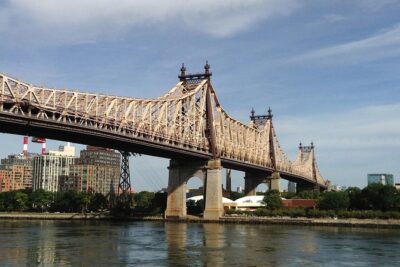
The Brooklyn Bridge is one of the core assignments, and the workshop does it the smart way: you photograph it during both the day and at night.
In daylight, the bridge becomes a composition lesson. You can focus on leading lines, the shape of the cables, and how Manhattan’s skyline sits inside the frame. Daylight also helps you get your geography right fast—where the best angles are and how far you can comfortably work without blocking foot traffic.
At night, the same subject becomes a long-exposure playground. You can practice longer shutter speeds for light trails, manage contrast between dark structure and bright highlights, and learn how to keep your camera steady. For at least two night sessions, you’ll have tripod rental included, which is huge value if you don’t already travel with one.
If you want a clear before-and-after in your photography skills, this is the kind of repeatable exercise that can deliver it.
Skyline time: Top of the Rock by evening and again from Brooklyn
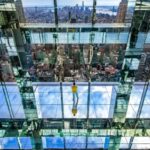
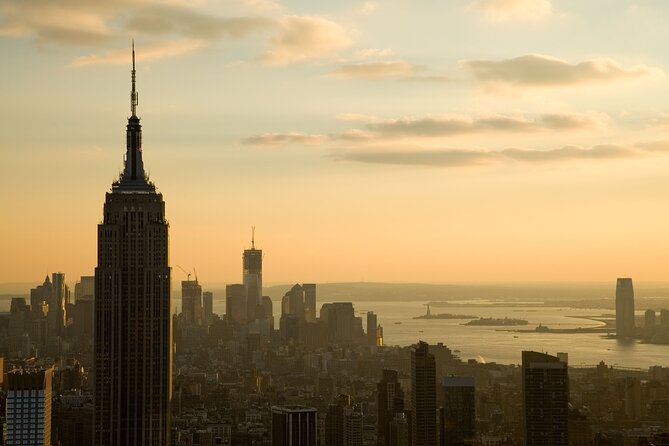
One of the included perks that also improves your photos: admission to Top of the Rock. The plan includes evening skyline shooting from the Top of the Rock viewpoint, and then again from Brooklyn.
Why that double angle helps:
- You learn how perspective changes the mood of the skyline.
- You practice exposure in evening conditions where the sky shifts quickly.
- You compare how brighter windows and street-level lights behave from different distances.
Top of the Rock is also a chance to build a cleaner composition. Instead of fighting the mess of too many foreground elements, you can frame the city with more control—especially useful when you’re learning how to balance highlights and darker areas.
Midtown essentials: Flatiron, Empire State, Radio City, and Rockefeller Center
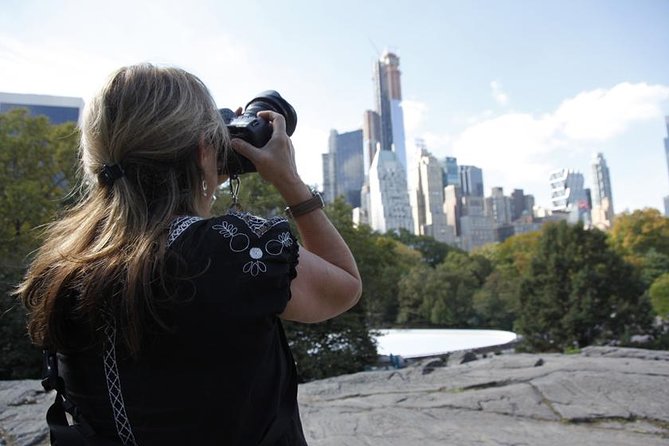
Midtown is where NYC photography can get chaotic. You’ll have crowds, street lighting, and lots of “classic” subjects that people over-photograph. The workshop helps because you’re there to practice choices, not just capture icons.
Here are the major stops you can expect to work on across the three days:
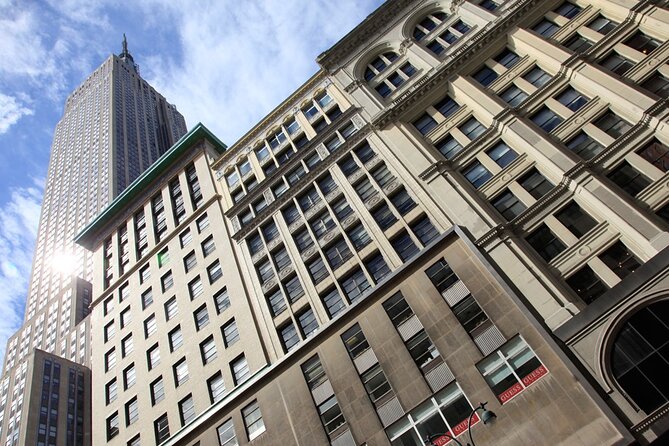
- Flatiron Building: great for learning how to handle angles and narrow streets. Watch for changing light as clouds move through.
- Empire State Building: an easy subject to get wrong if your framing includes distractions. You’ll use the same icon multiple times with different settings so it becomes a study, not a souvenir.
- Radio City Music Hall: a strong architecture stop where color and contrast can shift when night comes. You’ll be practicing how to make stone and signage look intentional.
- Rockefeller Center: ideal for learning how to shoot around bright sources and reflections, especially when the city’s lights start competing for attention.
The tricky part with Midtown photos is crowd control. You’ll be working while people move through the scene, so you need patience and good timing. The payoff is that these are exactly the places where learning to shoot with moving surroundings makes your images look more “NYC” and less like a postcard.
You can also read our reviews of more photography tours in New York City
Central Park sessions: variety inside the city grid
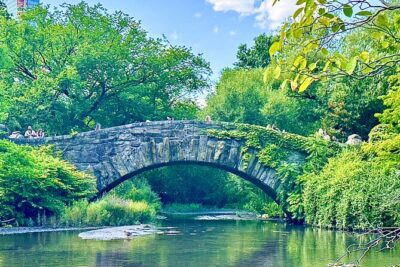
Central Park shows up as multiple famous locations across the workshop. That’s useful because it gives you a break from pure skyline shooting and lets you practice with different textures and colors.
Park scenes also teach a different kind of photography patience. Instead of relying on iconic buildings, you’ll be working on composition inside a larger “world” of paths, open areas, and changing background distractions. If you like the idea of mixing architectural shots with something calmer and more natural, these Central Park stops are a smart way to add variety to your NYC set.
A practical note: Central Park in daytime can be bright and contrasty. At night, you may see more controlled light patterns. Either way, this is part of the workshop’s broader goal—getting you comfortable with different lighting and framing situations.
Lower Manhattan through Chinatown and the Lower East Side
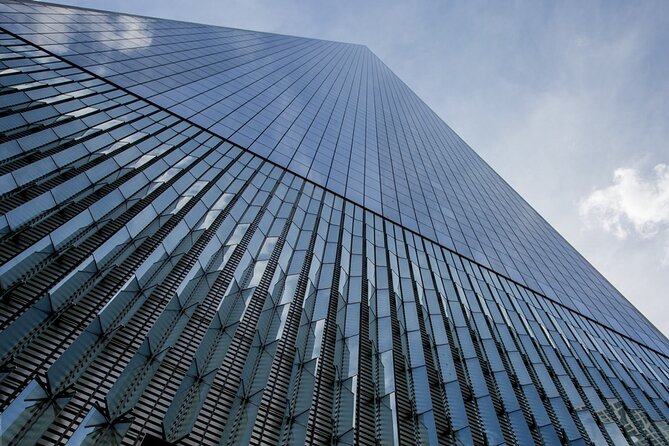
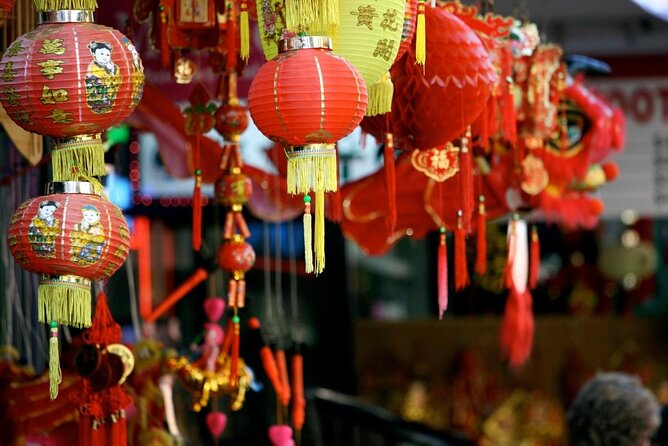
You’re not limited to glass towers and broad avenues. The workshop also includes stops around Wall Street, Chinatown, and the Lower East Side, and it explicitly leans into photographing both old and new structures plus the people and places tied to immigrant life.
This is where the workshop can feel most “alive.” Street scenes don’t hold still. That forces you to use shutter speed intentionally. You can experiment with:
- faster shutter speeds for sharper human moments
- slower speeds when you want motion blur to show movement and energy
You’ll also be practicing with flash and learning how it fits city photography. Flash can help when ambient light is uneven, especially in areas where storefront light beats up your exposure otherwise. Just remember: the goal isn’t to blast everything bright. It’s to learn when flash improves the subject and when it creates harsh, flat results.
One more detail that matters: photographing Chinatown and the Lower East Side isn’t just about architecture or signage. It’s about learning to frame people as part of the story while staying respectful in busy areas. This workshop gives you structured time in those neighborhoods instead of treating them like a quick stop.
Times Square, the New York Public Library, and “problem spots” made useful
A city icon like Times Square is a photography test. It’s bright, cluttered, and full of moving light sources. That’s also why it’s such valuable practice.
If you’re serious about improving, Times Square forces decisions:
- Do you shoot to freeze motion or to blur it?
- How do you control highlights?
- How do you avoid washing out your subject with neon?
Similarly, the New York Public Library gives you a more structured frame. It’s a great place to practice clean composition and make your camera behave under changing daylight or evening contrast.
These are the places where your “skills” stop being theory. You’ll leave with more than a few pretty shots. You’ll learn how to handle the mess in a way that still looks intentional.
Gear, techniques, and why the tripod rental matters
The workshop is built for photographers who already understand composition and camera settings, but it still supports you with practical instruction. You’ll learn about:
- best lens choice for subject matter
- how to use flash
- long exposures for night scenes
- working with shutter speed and aperture as actual tools, not just menu items
Tripod rental is included for two night tours. That’s a key detail because long exposure photography can be frustrating without stable support. If you don’t travel with a tripod, getting one for the right sessions is a smart cost saver—and it makes your night learning more consistent.
Also, the workshop includes plenty of real-world “stuff to photograph”: taxi cabs, subways, and layers of old and new New York City. That means you’re practicing both static subjects (buildings) and dynamic ones (street life).
Fitness, timing, and group size: what the week feels like
This is not a slow, sit-and-sip workshop. You’re out for most of the day, with shooting time that adds up to serious hours. You’ll walk 3–4 miles daily, and you’ll likely spend time working between locations where it’s hard to pause and rest.
The group size cap is 8 travelers. That’s another practical advantage. When you need help adjusting settings—especially in tricky nighttime conditions—a smaller group usually means your guide can actually help you rather than just talk over a crowd.
The workshop also requires good health. If you know you get wiped out by long days or lots of walking, think hard before booking. This tour is ideal when you treat it like a workout: water, comfortable shoes, and a camera plan.
Price and value: is $1,223.41 worth it?
At $1,223.41 per person, this isn’t a budget experience. But you are buying more than a checklist of landmarks.
Here’s what your money covers, based on what’s included:
- a professional photographer guide
- a multi-day shooting program with daytime and nighttime sessions
- a 1-week unlimited metro card
- Top of the Rock admission
- tripod rental for two night tours
- an intensive schedule with lots of shooting practice (not just a few quick photo stops)
If you were to assemble this on your own, you’d still have to solve the hard parts: building a plan that covers both night and day techniques, finding the best spots at the right time, and learning how to translate camera settings into the city’s lighting.
This tour’s value is the combination: instruction + access + gear support at night + an NYC itinerary full of photo-practice “subjects,” not just famous locations.
Practical tips so you get more out of every stop
If you want the best return from the training, you need to show up ready to shoot and ready to adjust.
Here’s how I’d prep in a practical way:
- Bring a camera you can access quickly. You’re shooting for hours, so menu-hunting becomes painful.
- Know your basics before you arrive: exposure triangle comfort helps. The workshop builds on that, especially in the “Nuts and Bolts” session.
- Pack for long walking days. 3–4 miles per day adds up fast.
- Be ready for night work. Two night sessions include tripod rental, but your hands will still need to handle low-light shooting and framing.
- Plan your mindset: you’ll take a lot of photos. Try not to treat every frame like it must be perfect. Treat each one like a test.
One last tip: use the unlimited one-week metro card as a way to extend practice after the workshop ends. You’ll already understand what you want to photograph and why.
Should you book this NYC photo workshop?
Book it if:
- you already know composition and camera settings and want a structured push
- you want to learn specifically how to handle day and night NYC photography
- you like photographing icons like Brooklyn Bridge, Rockefeller Center, and Times Square, but want more than the typical “stand here and smile” shots
- you can handle long days, lots of walking, and a fast pace
Skip it (or consider a slower option) if:
- you want a relaxed sightseeing trip with light guidance
- you’re uncomfortable with nighttime shooting or long-exposure work
- you struggle with 12–13 hour days and 3–4 miles of daily walking
If you’re serious about improving your images while experiencing classic NYC locations, this workshop is a strong match.
FAQ
How long is the photography workshop?
It runs for 3 days (approx.).
What does the workshop cost?
The price is $1,223.41 per person.
What’s included in the tour besides the photographer guide?
You get a professional photographer guide, an unlimited one-week metro card, admission to Top of the Rock, and tripod rental for two night tours.
Will I be able to photograph the Brooklyn Bridge and NYC skyline?
Yes. You’ll photograph the Brooklyn Bridge during the day and at night, and you’ll also shoot the Manhattan skyline in the evening from Top of the Rock and from Brooklyn.
How much walking and shooting should I plan for?
You’ll be away from your hotel about 12–13 hours each day and shooting about 6–9 hours. You’ll walk approximately 3 to 4 miles per day and take more than 250 pictures daily.
How big is the group?
The workshop has a maximum of 8 travelers.
Is this suitable for beginners?
It’s best for serious photographers who already understand composition and camera settings. It also has an initial Nuts and Bolts session, but the pace and instruction assume you can work with settings.
Are meals and accommodation included?
No. Accommodation and meals are not included.
Is the workshop canceled if the weather is bad?
Yes, it requires good weather. If it’s canceled due to poor weather, you’ll be offered a different date or a full refund.
What happens if I need to cancel?
You can cancel up to 6 days in advance for a full refund. If you cancel 2–6 full days before the experience, it’s a 50% refund. Less than 2 days before the start time isn’t refunded.