Want NYC photos without guesswork? A 4-hour photo shoot links some of the most camera-ready spots in Brooklyn and Manhattan, with a photographer guiding your timing and poses across neighborhood after neighborhood. I like that the route starts at the DUMBO Manhattan Bridge View early, when it’s easier to work around crowds. I also like the way the shoot is paced like a real session, not a fast walk-by, with hands-on help to get you comfortable.
You’ll also get a lot of variety without changing plans yourself: Brooklyn Bridge Park, the walk across Brooklyn Bridge, and then street scenes that shift from Chinatown to Little Italy, SoHo, and Greenwich Village. One thing to consider is the early 8:00am start and the reality that you’re shooting outdoors, so good weather matters.
In This Review
- Key things to know before you go
- How this NYC photo session runs in 4 hours
- DUMBO Manhattan Bridge View: why the route starts here
- Brooklyn Bridge Park: waterfront photos with breathing room
- Walking Brooklyn Bridge: iconic structure, real “wow” factor
- Chinatown and Little Italy: color and texture without planning
- SoHo: cast-iron lines and city-fashion streets
- Greenwich Village at Washington Square Park: portraits in a calmer pocket
- Greenwich Village streets: brownstones and walking-friendly scenes
- Flatiron Building: that triangle makes photos easy
- Timing, groups, and what makes this tour feel good
- Value and cost thinking: what you’re really paying for
- Weather, comfort, and how to get better results
- Where you end up and what to do next
- Should you book this photo tour in NYC?
- FAQ
- What time does the photo shoot start?
- Where does the tour meet?
- Where does the tour end?
- How long is the tour?
- What language is the tour offered in?
- How many people are in the group?
- Do I need admission tickets for the stops?
- What if the weather is bad?
Key things to know before you go
- 8:00am start at DUMBO: meeting early helps you get usable photos before the biggest crowds hit.
- Iconic backdrops in sequence: Manhattan Bridge, waterfront views, Brooklyn Bridge, and major Manhattan landmarks.
- Small group size (max 10): you’re not fighting for space like you would in a big tour group.
- Photographer is there early: they’ll be at the meeting spot about 15 minutes before start time.
- Free admission at each stop: the listed locations don’t require paid entry tickets for the tour portion.
- Ends near the Empire State Building: you finish right where it’s easy to keep exploring.
How this NYC photo session runs in 4 hours
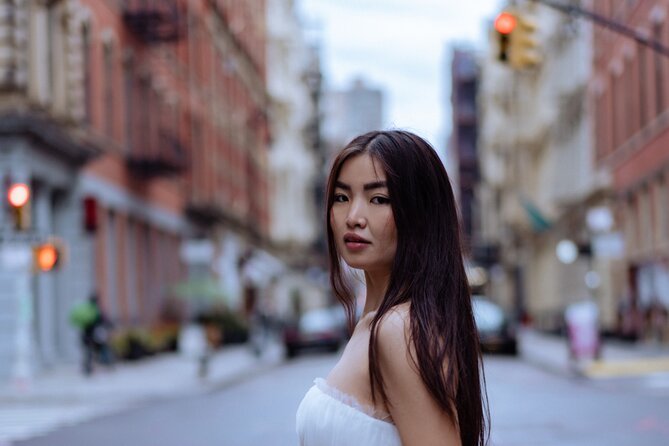
This is a guided photo shoot built around timing and location—four hours, on foot, across parts of Brooklyn and then into Manhattan. You’ll use a mobile ticket, and the tour is offered in English.
What you’ll feel most is the structure. Stops are short and clearly timed, so you’re not stuck waiting around. At the same time, you’re not constantly rushing either, since the photographer is actively working with you at each location.
The tour caps at 10 travelers, which matters in New York. Smaller groups make it easier for your photographer to find angles, keep distance from the densest crowd zones, and reset between shots.
You can also read our reviews of more city tours in Brooklyn

DUMBO Manhattan Bridge View: why the route starts here
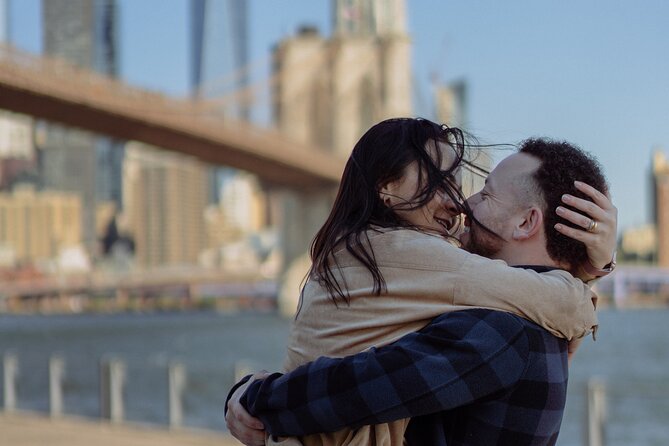
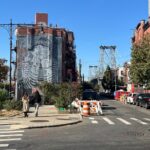
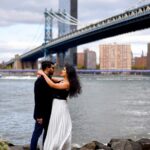
Meeting at the DUMBO area near Water St & Washington St puts you at one of NYC’s most recognizable photo frames: the Manhattan Bridge rising behind you, with the skyline lining up in the same view. The catch is that this spot is famous, so you can expect a crowd at nearly any hour.
That’s exactly why the early start is part of the value. When you begin at 8:00am, you usually get fewer people in the frame and more breathing room for clean compositions. It’s also when the light can look great for portraits—especially if you want crisp skyline edges behind you.
You’ll have about 20 minutes at this first stop. Expect the photographer to start with orientation: where to stand, how to angle your body toward the bridge, and how to move so the background stays sharp.
Tip for your best first photos: wear something you feel good moving in. DUMBO is photogenic from multiple angles, and you’ll likely switch positions as the photographer works.
Brooklyn Bridge Park: waterfront photos with breathing room
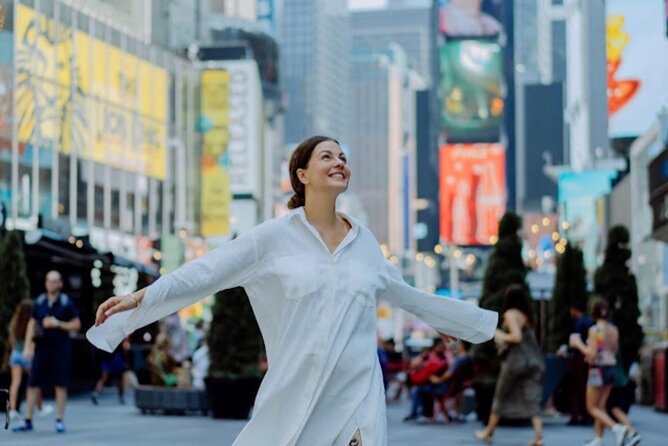
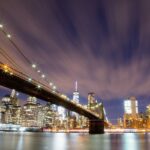
From DUMBO, you move to Brooklyn Bridge Park, where the vibe changes from architectural drama to waterfront calm. Here, you’ll have about 30 minutes, and the point is to slow down a bit so you can get a mix of portraits and scenic background shots.
Lower Manhattan views from this area are a natural fit for photos—big skyline shapes, open sightlines, and a lot of composition options. You’ll likely get better results here if you let the photographer guide your stance instead of trying to take over the framing yourself.
Potential drawback at this stop: waterfront areas can still draw walkers and photographers. If crowds appear, the photographer’s job is to time your shots and choose spots where you’re not stuck with someone else’s head in your background.
Walking Brooklyn Bridge: iconic structure, real “wow” factor
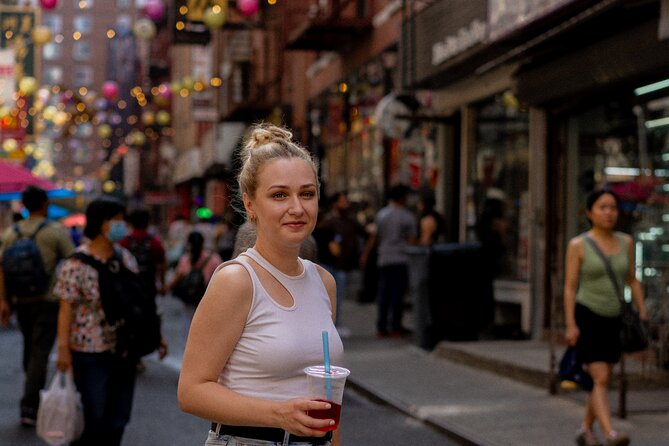
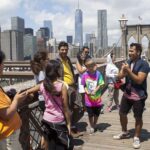
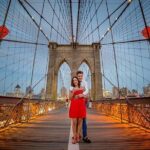
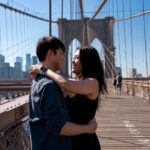
Next is the big one: Brooklyn Bridge. Expect about 30 minutes here, including time to walk the bridge and get photographs at points along the structure.
A bridge is more than a backdrop. It gives you a sense of motion and scale—your body, the cable lines, and the city stretching around you. If you’ve ever tried to take your own bridge photos, you know it’s hard to manage everything at once. The tour format solves that by keeping someone focused on your shot while you focus on staying relaxed and moving naturally.
Practical consideration: the bridge is a busy classic. Even with an early start, you can encounter crowds. If that stresses you out, try to lean into the fact that your photos can still look great even when other people exist—your photographer will pick where you stand to keep the image clean.
Chinatown and Little Italy: color and texture without planning
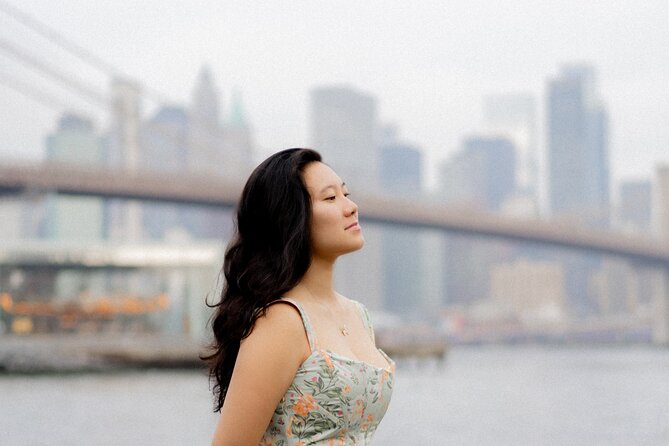
After the bridge, the route shifts to two neighborhood stops designed for street-style photography: Chinatown (about 20 minutes) and Little Italy (about 20 minutes).
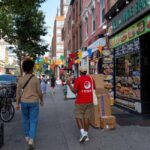
Chinatown brings tight streets, signage, and a strong mix of colors. For photos, it’s about details—faces, reflections, market-like scenes, and candid-feeling moments. The photographer will usually look for spots where you can be framed by the environment without feeling like you’re staged in a tourist line.
Little Italy changes the texture again. You’re still in a dense street setting, but the feel is more Italian-forward—block charm, classic storefront energy, and neighborhood atmosphere. The goal is to capture your visit as something lived-in, not like you just walked through.
One thing to remember: these neighborhoods are active by nature. If you’re hoping for zero background people, you might not get that. What you can get is strong framing, intentional posing, and photos that look like NYC street scenes.
You can also read our reviews of more photography tours in Brooklyn
SoHo: cast-iron lines and city-fashion streets
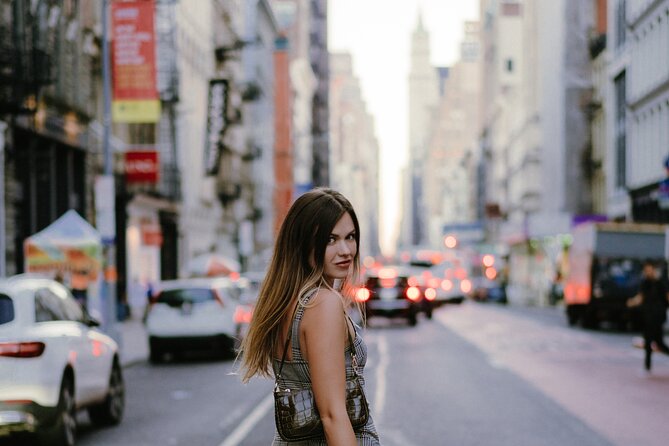
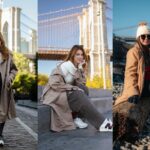
Then it’s SoHo, with about 30 minutes. This is where architecture and street style work together. You’ll likely get shots using SoHo’s cast-iron look and the urban geometry that makes photos feel crisp and graphic.
SoHo can also mean more foot traffic, more storefront interest, and more places where a photo could look busy. This is where having a photographer who knows how to choose angles helps a lot. You want clear subject separation: you in the foreground, the architecture doing its job behind you.
If you like photos that feel fashion-forward, SoHo is a strong stop. If you hate crowds, still try to stay flexible here—the tour’s timed structure helps you work efficiently instead of getting stuck.
Greenwich Village at Washington Square Park: portraits in a calmer pocket
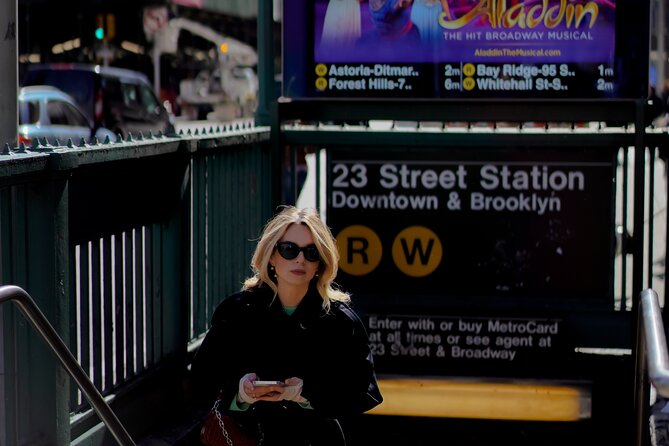
Next up: Washington Square Park (about 20 minutes), often the kind of place that feels like a break inside the city machine. The point here isn’t just background scenery; it’s portrait-friendly space.
A park gives you multiple portrait options: open areas, historic-looking surroundings, and enough visual variety to create different photo moods. If you want one set of photos that doesn’t rely on famous landmarks, this is where those portraits come from.
What makes this stop valuable is contrast. After dense streets like Chinatown and SoHo, a green pause helps your photo set feel balanced, not all city-grid and signage.
Greenwich Village streets: brownstones and walking-friendly scenes
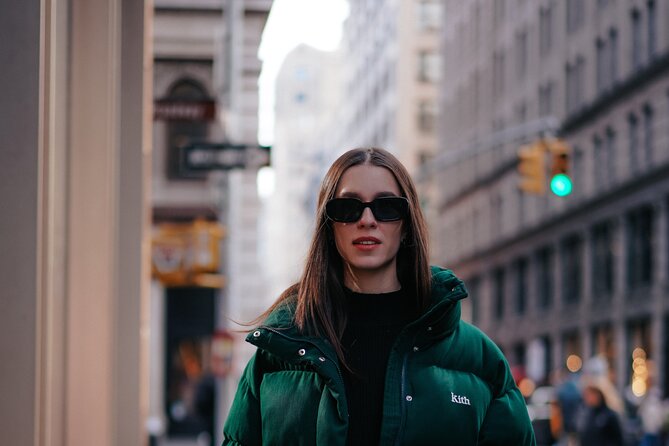
After the park, you continue through Greenwich Village for about 20 minutes. The look here is different again: tree-lined streets and classic brownstone-style blocks.
This is where you can get photos that feel quieter and more personal. The photographer will likely guide you to spots where the street lines and facades frame you well, without too many random distractions.
Practical note: Village streets still have pedestrians and traffic nearby. If your goal is simple, clean portraits, ask the photographer for a position that gives you the best background separation. You’ll get more usable shots by making small stance changes than by trying to fight the environment.
Flatiron Building: that triangle makes photos easy
The final “major wow” stop is the Flatiron Building (about 20 minutes). It’s an architectural shape that naturally creates strong composition. Even if you’re not an expert at posing, a building like this gives you structure.
Expect photos that use the triangular silhouette and nearby street angles. This is also a nice point in the tour to do a slightly more classic portrait—your subject centered, background dramatic, and the sense of NYC really locked in.
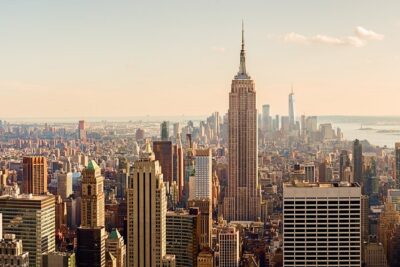
Then the tour ends near the Empire State Building. Finishing in Midtown is handy because it’s an area with lots of food and easy onward transportation.
Timing, groups, and what makes this tour feel good
A photo shoot can go two ways: either it feels efficient but rushed, or it feels like you’re stuck while the photographer waits for the “perfect moment.” This tour’s stop-by-stop timing is designed to keep you moving without turning it into a sprint.
The group size (max 10) helps with that balance. It also helps the photographer do what you actually want: frame your photos, adjust your position, and keep the shoot flowing so you don’t feel like you’re waiting for your turn.
Also, photographers on this kind of tour matter. One name tied to excellent experiences is Anna, described as very kind and helpful and even willing to handle your belongings so you have free hands. That kind of practical assistance can make a real difference, especially if you’re holding a bag, a jacket, or anything that gets in your way mid-shot.
Value and cost thinking: what you’re really paying for
There’s no paid admission listed for the tour stops. Each location is marked as Admission Ticket Free, so your cost is mainly about the photographer time and the planning behind the route.
In NYC, that’s where photo shoots often get expensive fast—when you’re trying to coordinate timing, location crowd levels, and posing on your own. This tour gives you a ready-made path through the city’s most photo-friendly areas, with someone else doing the “where should I stand” work for you.
The fact that the tour is about 4 hours is also a value point. In a city this large, a short time window is where self-guided photo hunting can fall apart. Here, you spend that time getting shots instead of spending it figuring things out.
Weather, comfort, and how to get better results
This experience requires good weather. If poor weather cancels the tour, you’ll be offered a different date or a full refund. That’s a big deal in New York, because outdoor photography is sensitive to rain and low visibility.
What you can control: dress for comfort. If you’re walking between stops, you’ll want shoes that handle sidewalks well. Also, keep your hair and clothing manageable so you’re not constantly adjusting instead of posing.
If you tend to feel awkward in photos, the session format helps. The tour gives you multiple stops, so the photographer can work with you across different backdrops and angles while you get more comfortable. A good shoot doesn’t just happen at one “perfect” photo moment—it improves over time as you relax.
Where you end up and what to do next
You finish at Empire State Building area (20 W 34th St). That’s a practical landing point for your day, since it’s easy to grab a meal, continue sightseeing, or head back with public transit.
If you want to keep your photo momentum, plan a little buffer. Even if your shoot is done, you can still take your own quick shots around Midtown. But don’t over-schedule right after the last stop; you’ll likely be ready to stop walking.
Should you book this photo tour in NYC?
Book it if you want classic NYC photos without spending your morning hunting angles and crowd-free positions. This is especially worth it if you care about variety—bridge views, waterfront, neighborhood street scenes, and major architecture—inside one organized session.
Skip it (or rethink the timing) if you hate early mornings, because the meeting at 8:00am is part of the design. Also consider the weather dependency: it’s an outdoor shoot, and the tour expects good conditions.
If you want an easy win—strong locations, guided posing, and a finish near Midtown—this tour fits well.
FAQ
What time does the photo shoot start?
The tour start time is 8:00am.
Where does the tour meet?
The meeting point is at DUMBO Manhattan Bridge View, 39-21 Washington St, Brooklyn, NY 11201.
Where does the tour end?
The tour’s last stop is near the Empire State Building, at 20 W 34th St, New York, NY 10001.
How long is the tour?
The duration is about 4 hours.
What language is the tour offered in?
The tour is offered in English.
How many people are in the group?
The tour has a maximum of 10 travelers.
Do I need admission tickets for the stops?
The listed stops are marked as Admission Ticket Free.
What if the weather is bad?
The experience requires good weather. If it’s canceled due to poor weather, you’ll be offered a different date or a full refund.