REVIEW · NEW YORK CITY
3Days New York City Tour With Professional Photographer
Book on Viator →Bookable on Viator
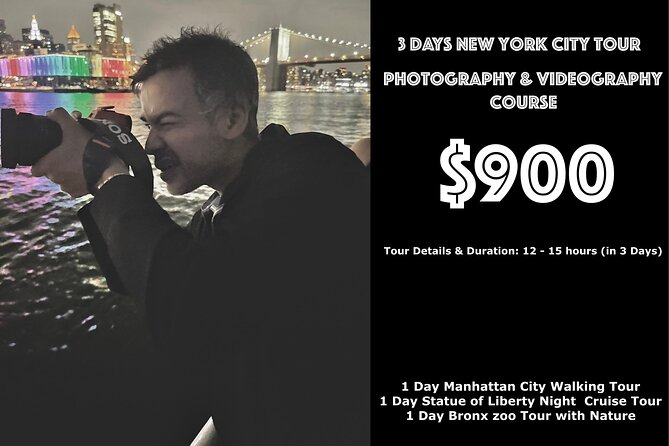
Three days, one focus: making photos work. This tour is built around hands-on photo and video coaching plus a pro who shoots you while you learn the basics in real NYC locations. I especially like how the plan mixes iconic sights with practical practice moments, and how the package includes edited photo and video delivery so you’re not stuck sorting shots yourself. The main drawback to consider is simple timing: you get about 12 hours total, spread across three 4-hour days, so it’s not a full, wander-at-will sightseeing marathon.
You’ll meet at Bleecker Street and come back there at the end, and you can also get pickup offered depending on your booking. The experience is private, meaning it’s just your group, and the shooting is done with serious gear (a Sony a7r5 and lenses). In the same spirit, the host linked with the experience (Mrzoo) has also been described as helping with a relaxing Bronx homestay option in some cases, plus a meditation-minded vibe.
In This Review
- Key Highlights You Should Know Up Front
- What $120 Covers (And Why It Feels Fair)
- Day One: Manhattan From Bleecker Street to SoHo, Tribeca, Little Italy, and Chinatown
- What you do during the walking tour
- The vibe of these neighborhoods
- Possible drawback for day one
- Day Two: Statue of Liberty Cruise With Night Photography Lessons
- How the day runs
- Why the night choice helps your results
- A consideration before you pick night
- Day Three: Bronx Zoo at 2 PM With Zoo-Focused Photo and Video Practice
- What you do inside the zoo
- Admission note
- Who might find it challenging
- Gear and Editing: Sony a7r5, AI Tools, Canva, and CapCut
- A real-world tip for using Canva and CapCut
- Meeting Points, Timing, and How to Prep Like a Pro
- What to bring (simple and useful)
- Best mindset for the experience
- Who This Tour Fits Best (And Who Might Skip)
- Should You Book It?
- FAQ
- FAQ
- How long is the tour?
- Is pickup included?
- Where do we meet on Day 1?
- Is the tour private?
- Are children allowed?
- What’s the cancellation policy?
Key Highlights You Should Know Up Front
- Pro photographer included: You’re not just watching. You get shot during the walks and stops.
- Editing and delivery included: You receive the memories with editing, not just raw files.
- Night-focused Statue of Liberty option: You’ll learn night photography and video with the lights doing the heavy lifting.
- Bronx Zoo shooting practice: You get a nature + wildlife setting where small camera choices matter.
- Creative software add-ons: You’re provided premium Canva and CapCut accounts, plus access to AI tools mentioned for learning.
- Private group format: Only your group participates, which helps if you want questions answered fast.
What $120 Covers (And Why It Feels Fair)
At $120 per person, this tour is trying to sell one thing: time saved and quality gained. In a city like New York, it’s easy to waste hours getting to landmarks and then coming home with shaky night photos or blurry zoo shots. Here, the value comes from three pieces that travel alone usually costs extra for:
- A pro is doing the main shooting
The tour includes photo and video capture, using a Sony a7r5 setup. Even if your own phone camera is fine for everyday snaps, the pro can cover the angles, motion, and tricky lighting you’d struggle with on your own.
- You learn while you’re being shot
Each day has a mini class with practical shots. That’s the key difference from a generic sightseeing guide who points and moves on.
- Editing + delivery are part of the deal
You get the memories with editing, plus access to creative tools like Canva and CapCut. That means you’re not stuck hunting software, figuring out templates, or paying an editor to turn your trip into something shareable.
A quick practical note: the itinerary is set up as three separate days, with about 4 hours each day and roughly 12 hours total. If you’re the kind of person who wants a slower pace and extra stops at your own rhythm, you might feel a little time-crunched. If you want clear structure and a “photo-first” New York experience, the math starts to make sense fast.
You can also read our reviews of more city tours in New York City
Day One: Manhattan From Bleecker Street to SoHo, Tribeca, Little Italy, and Chinatown
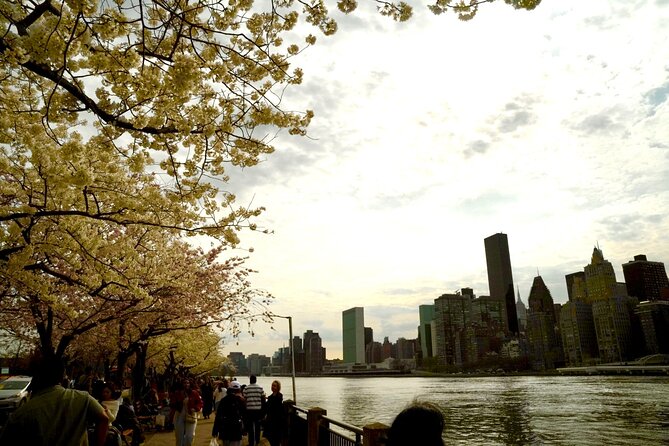
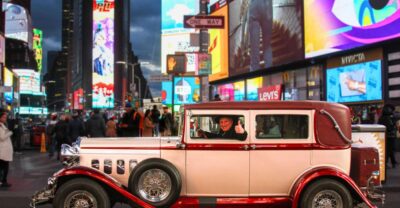
Manhattan day starts in the best kind of way: walking. You meet at Bleecker Street (5:00 PM), and the night timing matters because late afternoon to early evening is when street life and building lights start to show up on camera. From there, you head through SoHo, TriBeCa, Little Italy, and Chinatown.
This isn’t just a route. It’s a photo and video workflow lesson in motion.
What you do during the walking tour
You’ll walk, talk, and learn with the guide and photographer. You’ll also do a few practical shots along the way. The point is to turn random “look, a cool street” moments into repeatable results—especially for video, where timing and framing are everything.
The pro shoots you while you’re learning, and you’ll get the edited photos and videos afterward. That combination is a smart choice. Learning gives you better photos next time, and pro capture gives you the ones you’ll actually want right now.
The vibe of these neighborhoods
This specific mix is great because it gives you different visual textures in one evening:
- SoHo tends to reward street-level angles and details.
- TriBeCa can look cleaner and more architectural.
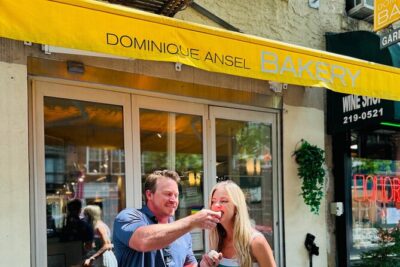
- Little Italy and Chinatown bring stronger color and signage energy, which often makes photos feel like New York even when you’re not trying.
Possible drawback for day one
If you hate guided structure, the class format may feel a little “instruction first, sightseeing second.” It’s still a walking tour, but it’s clearly built for photography and video results. If your main goal is just to stroll without thinking about settings or framing, you might want a different style of NYC tour.
You can also read our reviews of more photography tours in New York City
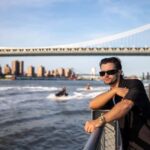
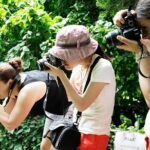
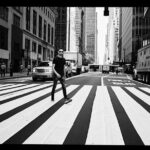
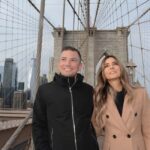
Day Two: Statue of Liberty Cruise With Night Photography Lessons
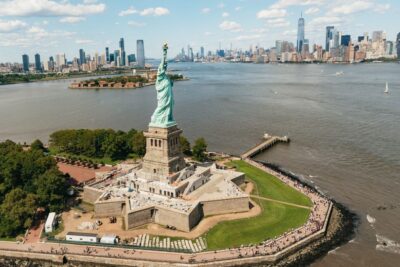
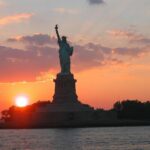
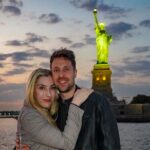
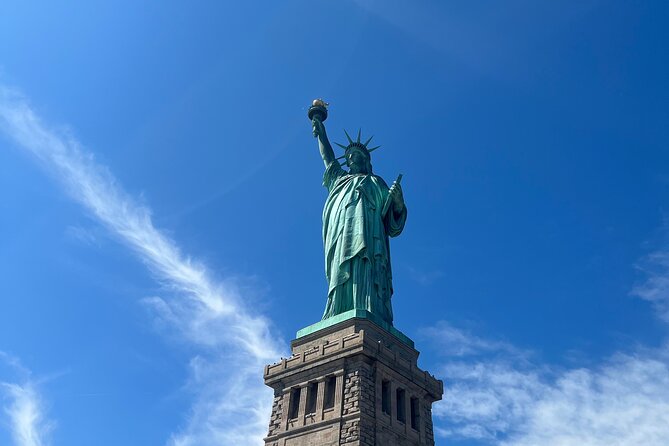
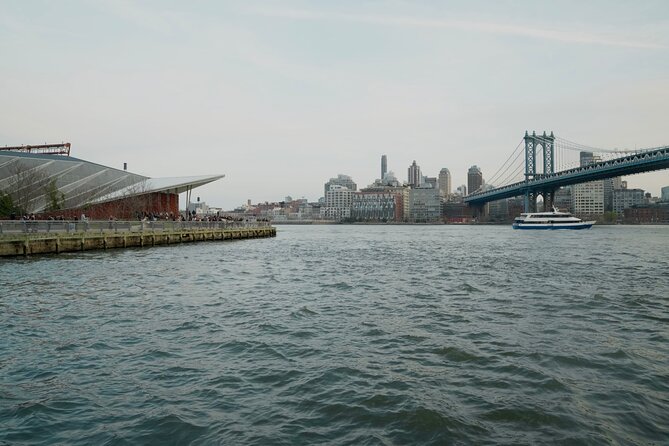
Day two is the one that people usually remember: a Statue of Liberty cruise tour. You can choose night or day, and the plan strongly favors night for the photography payoff. That makes sense on a practical level—night brings highlights, reflections, and contrast that can make your images look more cinematic with the same subject.
How the day runs
The guide and photographer waits for you to onboard for the cruise. During the trip, you’ll learn night photography and videography with a few practical shots. The photographer also takes your photos and videos during the cruise experience.
Then, just like day one, you get the edited deliverables afterward, plus the creative tool access (including premium Canva and CapCut accounts, and AI tools mentioned as free for students).
Why the night choice helps your results
Night photography is one of those things where beginners usually struggle with three things:
- light levels (too dark or blown highlights),
- moving subjects (boats don’t sit still),
- and camera shake (especially handheld video).
Even if you’re not getting coached on every technical detail, being taught specifically for night conditions is better than guessing. And because the pro is shooting too, you’re not betting the whole trip on your own camera skills.
A consideration before you pick night
Night is amazing for photos, but it can be less comfortable for people who dislike evening logistics. Also, since the cruise choice is part of the experience, double-check what you selected at booking time (night vs day). The plan describes both options, so you’ll want to be sure you’re aligned with your own comfort level.
Day Three: Bronx Zoo at 2 PM With Zoo-Focused Photo and Video Practice
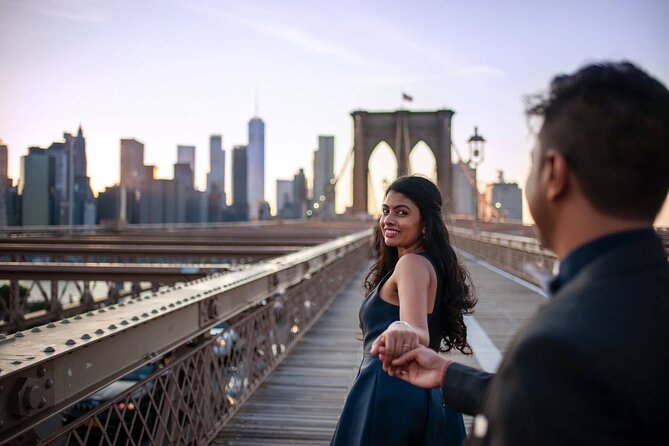
If you want your NYC photos to feel different from the usual skyline screenshots, Bronx Zoo day is a smart counterweight. You meet either in front of Castle Hill Station or in front of the Bronx Zoo, and the tour begins at 2:00 PM.
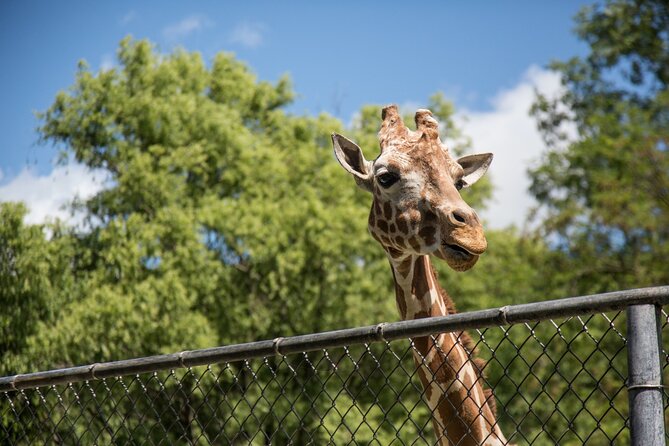
The zoo setting changes everything. Light is different, animals move constantly, and the “best photo moment” isn’t a landmark you can predict. That’s why the photography lesson style here matters.
What you do inside the zoo
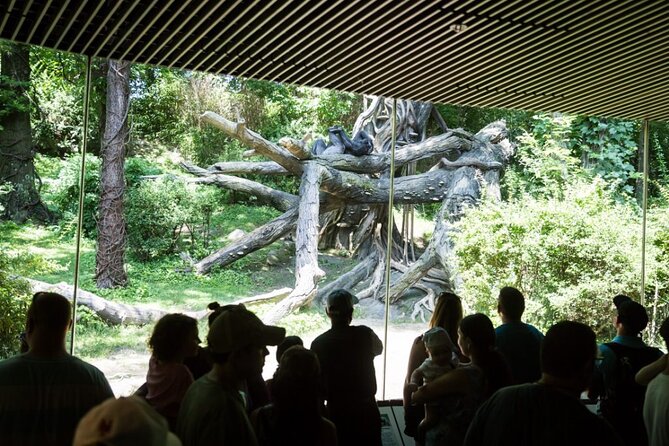
You’ll walk into the zoo and learn photo and video techniques with practical practice. Since the tour includes nature and animal subjects, it’s a good place to learn how to keep framing steady, anticipate movement, and capture moments that feel real.
At the end of the three days, you’re left with edited photos and videos from the whole trip—Manhattan streets, Liberty at night, and animal encounters.
Admission note
Admission is listed as free for this day in the provided info, which is a real budget win. Zoo tickets can add up, especially if you’re traveling with anyone else. Here, the experience bundles that cost into the tour flow.
Who might find it challenging
It’s photography-centered, so if you’re looking for a purely relaxed zoo day with no coaching, you’ll still get plenty to see. But the itinerary will likely include stops focused on practice and filming habits.
Also, the experience lists that children under 16 aren’t permitted, which matters for family planning.
Gear and Editing: Sony a7r5, AI Tools, Canva, and CapCut
Let’s talk about the “so what” behind the technical claims. The tour lists the photographer’s setup as Sony a7r5 with lenses. That’s a step up from phone-only shooting, and it matters most for two things: sharpness at a distance and cleaner results when lighting gets tricky (especially on the Liberty cruise).
But the bigger value is what happens after the shooting:
- You get the photography shots and videography videos with editing.
- You receive access to free premium Canva & CapCut accounts.
- The plan also mentions free AI tools for students after the course.
Even if you never use AI tools for your own workflow, having edit-ready files delivered is the practical win. You don’t have to spend your vacation evenings learning editing menus or begging friends to share how they processed theirs.
A real-world tip for using Canva and CapCut
If you like posting travel content, these tools are often easiest when you already have good material. Since this tour delivers edited photos and videos, you can treat Canva and CapCut as the final styling step—titles, captions, and simple story edits—rather than rebuilding footage from scratch.
Meeting Points, Timing, and How to Prep Like a Pro
The schedule is built around three meet points and strong time anchors:
- Day 1 meets at Bleecker Street at 5:00 PM.
- Day 2 is a cruise onboard timing you’ll follow as directed for your chosen tour (night/day).
- Day 3 meets either at Castle Hill Station front or Bronx Zoo front, starting at 2:00 PM.
- The activity ends back at the meeting point.
You can also get pickup offered, and there’s a mobile ticket.
What to bring (simple and useful)
- Comfortable walking shoes for Manhattan and the zoo
- A charged phone if you want to capture your own practice shots
- Any camera gear you personally prefer, though the pro is doing the core capture
- A jacket or layer for evening air on the Manhattan and cruise day (especially if you picked night)
Best mindset for the experience
Treat this like a photo workshop with landmarks attached. Ask questions, and don’t be shy about saying you want a certain look—street portrait vibe, wide establishing shot, or night highlights. The whole structure works best when you actively participate in the practice portions.
Who This Tour Fits Best (And Who Might Skip)
This is a strong choice if you:
- want better photos without spending hours learning on your own,
- like the idea of a private group where you can ask more questions,
- care about both photo and video, not just one,
- and enjoy night photography or at least want to try it with coaching.
It may not be the best match if you:
- want a free-form NYC tour with lots of extra stops and no structured shooting practice,
- need a trip length that fills most of the day beyond the ~4-hour daily blocks,
- or you’re traveling with kids under 16, since the experience lists that limit.
One more note based on what the host Mrzoo has been associated with: some people describe adding a Bronx homestay with breakfast and a calming, meditation music style setup. That part isn’t described in the core itinerary details you have here, so if you’re interested in staying included, ask directly during booking so you’re not guessing.
Should You Book It?
If your goal is to come home with edited, ready-to-share photos and videos plus real coaching, I’d say yes—especially if you’re aiming for Liberty at night and want zoo shots that don’t look like blurry luck. The price is reasonable when you consider that admission is handled for the days listed as free/included, and the pro work plus editing saves you both money and time.
If you’d rather just see NYC without a photography focus, or you want a longer, open-ended trip, you’ll likely feel slightly boxed in by the tight 4-hour structure and the specific neighborhoods and stops.
FAQ
FAQ
How long is the tour?
The experience is listed as about 12 hours total, with the itinerary split into three days (Manhattan, Statue of Liberty cruise, and Bronx Zoo), each with approximately 4 hours.
Is pickup included?
Pickup is offered, and you’ll follow the meeting-point plan provided for each day.
Where do we meet on Day 1?
Day 1 meets at Bleecker St, New York, NY, USA.
Is the tour private?
Yes. It’s a private tour/activity, meaning only your group participates.
Are children allowed?
Children under 16 years old are not permitted.
What’s the cancellation policy?
You can cancel for a full refund up to 24 hours in advance of the experience’s start time. If you cancel less than 24 hours before, you won’t get a refund.