REVIEW · NEW YORK CITY
New York City’s Iconic Sights: 3-Hour Photography Tour
Book on GetYourGuide →Operated by New York City Photo Safari · Bookable on GetYourGuide
Manhattan turns into a photo lesson fast. In a tight 3-hour walk with a pro, you’ll shoot famous views like Rockefeller Center, Radio City Music Hall, the Empire State Building, and Central Park—while learning how to make them look intentional, not accidental. I especially like the hands-on coaching that fits all skill levels, and I like how much ground you cover without it feeling random. One catch: it’s fast-paced and uses the NYC Subway, so you’ll want to be comfortable moving quickly through the city.
You start at 34th and Madison, which is easy to find, and you get a live English guide who can help you adjust your shots on the fly. If you’re hoping for a slow, sit-down sightseeing style—or you need a fully step-free route—think twice before booking.
In This Review
- Key highlights you’ll feel in 3 hours
- Meeting at 34th and Madison: quick start, clear expectations
- Price and value: what $125 buys you (and what it doesn’t)
- Rockefeller Center and Radio City: learning geometry you can see
- Empire State Building shots: making a big subject feel intentional
- Central Park skyline time: shooting from the park, not just through it
- Subway-based pacing: efficient travel and the reality of moving fast
- Small-group coaching: what you gain when you’re not lost in a crowd
- Who should book this photo safari (and who might struggle)
- Should you book this New York City Photo Safari tour?
- FAQ
- Where is the meeting point?
- How long is the tour?
- What does the tour cost?
- What’s included in the price?
- What’s not included?
- Do I need to bring my own camera?
- Is the tour suitable for beginners?
- Is it wheelchair accessible?
Key highlights you’ll feel in 3 hours
- Small group size (max 8): more attention when you’re setting up shots and checking compositions
- Professional photographer instruction: practical feedback on how to frame buildings and city scenes
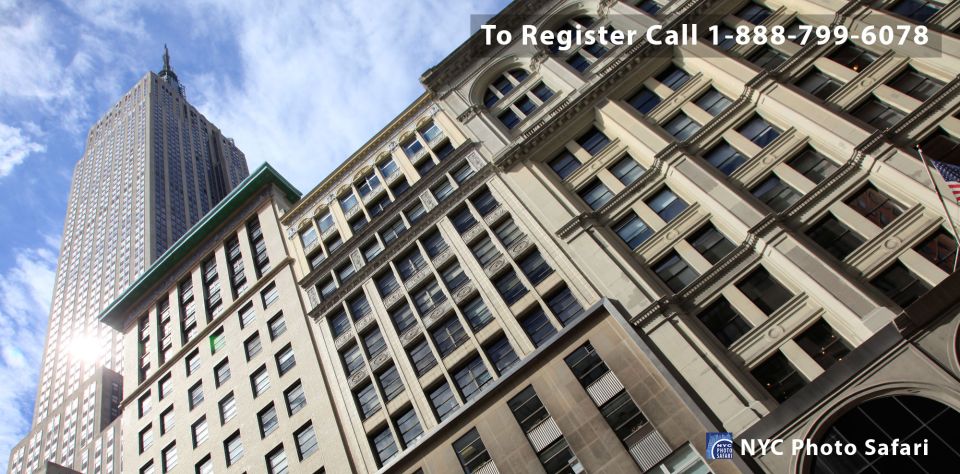
- Lines and angles focus: you learn ways to make skyscrapers look bold instead of just tall
- Central Park skyline photo time: you get a dedicated moment to shoot the skyline from the park
- Subway-based walking route: efficient travel between stops, with the pace that comes with it
Meeting at 34th and Madison: quick start, clear expectations
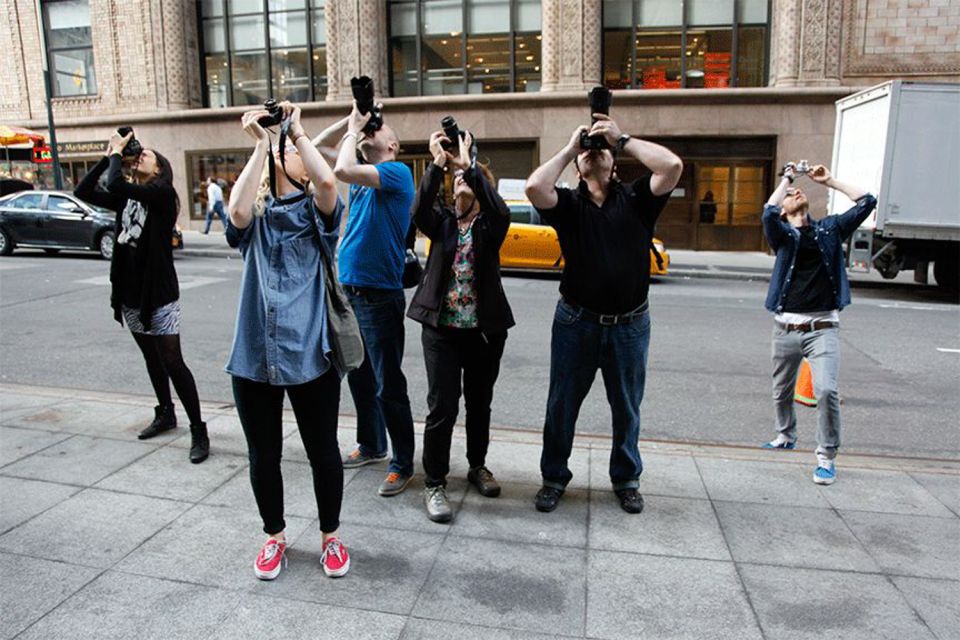
The tour kicks off at 34th and Madison, so you’re not wandering around trying to find a group. That matters in New York, where a few minutes can turn into a full-on detour. You’ll also get your bearings early, since you’re already in the Midtown rhythm where many of the day’s big photo subjects sit within walking and subway reach.
The first thing I like about this setup is how it respects your time. Three hours in Manhattan is not long enough for leisurely “maybe we’ll go there” planning. Here, the structure pushes you to make choices: when to look, when to shoot, and when to move. That’s especially helpful if you’ve ever been on a city walk where everyone else takes photos and you just… wait for inspiration.
The second thing I like is that you’re not expected to already know what makes a good photo. This workshop is designed to work for different camera skills. That means you can learn from scratch, or sharpen habits you already have—without the awkward feeling of being behind.
One practical point to keep in mind: it’s comfortable-walking time, not an all-day marathon. The tour is described as fast-paced, and it uses the subway system to cover the route efficiently. If you’re easily worn down by stairs, crowding, or quick transitions, plan your day so you’re not starting exhausted.
You can also read our reviews of more city tours in New York City


Price and value: what $125 buys you (and what it doesn’t)
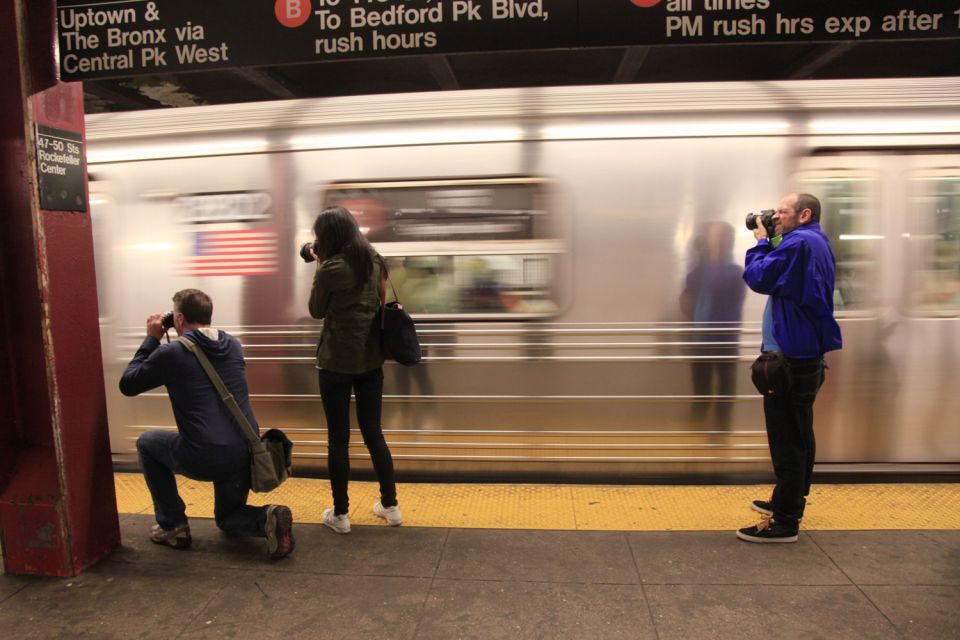
At $125 per person for 3 hours, you’re paying for three things: a pro instructor, an efficient route through Midtown and Central Park, and time spent learning how to photograph what you’re seeing.
The value is strongest if you want more than “look at that building” photos. This tour is built around skills—especially how to work with lines and angles. When someone explains what to look for (and then helps you apply it while you’re standing in front of the subject), you tend to leave with shots that look better than your usual travel snapshots.
You’re also getting small-group attention. With a cap of 8 participants, the tour can feel more like a working session than a sightseeing bus stop. On top of that, one review notes the group was just two people at the time, which is the kind of situation where a guide can give very specific help.
What’s not included is just as important for your budget. You’ll pay for things like meals and you’ll need your own camera (no rental is offered). Also, while the activity information says subway fare is included, at least one review says subway fees were not covered. Translation: don’t gamble on this. Have a MetroCard (or a credit card) ready just in case.
And yes, gratuities aren’t included. That’s the norm for small-group guiding, but it’s good to remember so you don’t feel stuck at the end.
Rockefeller Center and Radio City: learning geometry you can see
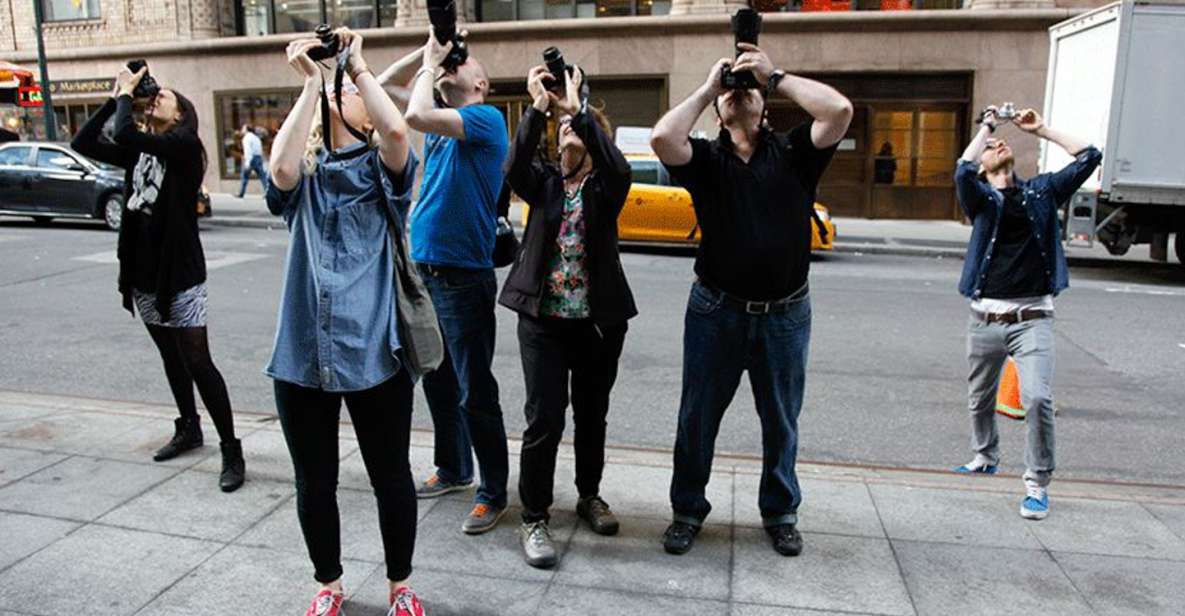
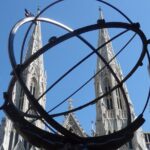
If you like architecture, Midtown is a buffet. Rockefeller Center and Radio City Music Hall are perfect for the exact kind of photo coaching this tour promises—because the buildings give you strong shapes to work with.
Here’s what “lines and angles” means in real life. You’ll be encouraged to notice the directional cues: how verticals pull your eye upward, how repeated edges create rhythm, and how diagonals make a flat scene feel dynamic. Instead of photographing a landmark head-on because it’s there, you start thinking: what angle makes it feel taller, wider, or more dramatic?
You’ll also get practice spotting vantage points while you’re still moving. That’s where a guided photo walk can be better than solo wandering. A pro can point out which spots make sense to stop, which directions keep the background clean, and how to frame so you’re not stuck with distracting clutter.
Another bonus: these areas are visually busy, so you’re learning a real New York skill—how to control what’s in your frame when the city is doing a thousand things at once. Even if you don’t master it immediately, you’ll get a checklist in your head for next time.
A small note from experience-style feedback in the tour chatter: the instruction is friendly and clear. One review specifically mentions a photographer named Zim as personable and full of expertise. That kind of tone matters because photography tips can either feel intimidating or actually useful. In this tour, the vibe tends toward supportive, not lecture-y.
Empire State Building shots: making a big subject feel intentional
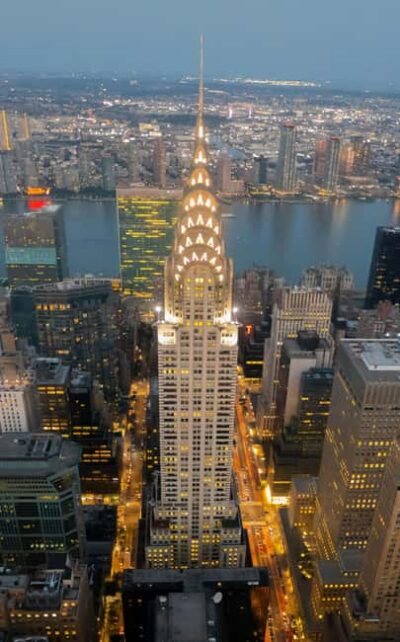
The Empire State Building is one of those places where most photos look similar—at least at first. That’s why it’s a smart stop on a workshop like this. A pro can help you avoid the “same postcard” problem by teaching you how to build a shot with purpose.
Expect to work on how you position yourself. With skyscrapers, small changes in height and distance can dramatically change the feel of the frame. You’ll likely be pushed to think about how you’re using the building’s vertical lines, and how nearby structures can help frame your subject instead of competing with it.
This is where the tour’s practical coaching can really pay off. Instead of just taking the obvious shots, you’ll learn to adjust: try different angles, consider how the sky or surrounding structures support the composition, and use lines to guide the eye. That’s the difference between a photo that’s merely of a famous building and a photo that looks like you composed it.
There’s also a mindset shift. You start treating the scene like a design problem: what should dominate, what should support, and what should disappear. If you’ve ever taken a great photo by accident, this tour helps you recreate that outcome on purpose.
And because the tour is short, you won’t be stuck forever in a single spot. The faster pace can actually be a help. It forces you to decide quickly, shoot, and then move to the next instruction moment—so you build momentum instead of overthinking.
Central Park skyline time: shooting from the park, not just through it
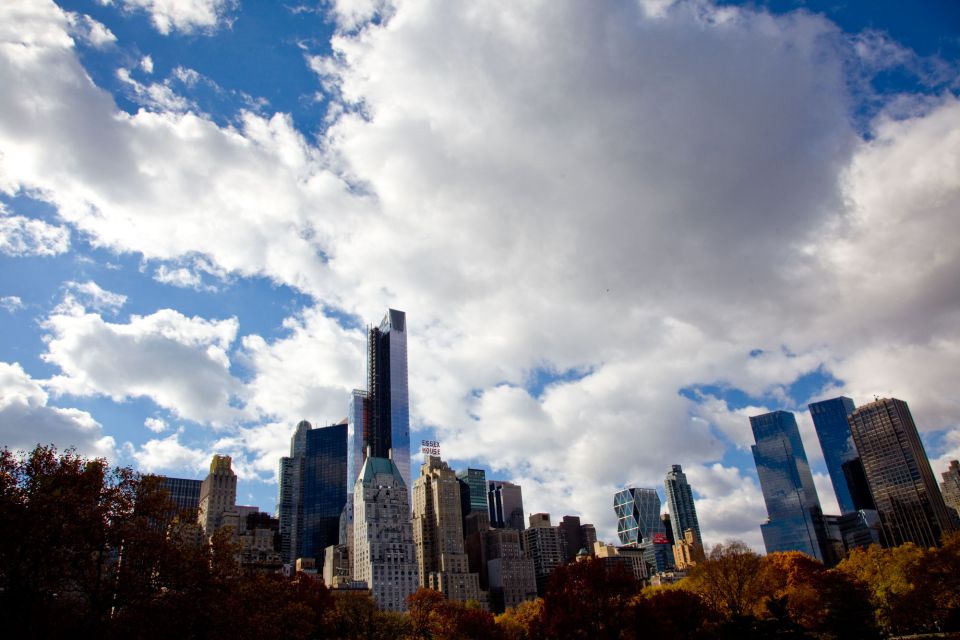
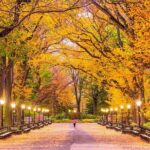
Central Park isn’t just a break from Midtown. It’s also a place where the skyline can look totally different, depending on where you position yourself. This tour gives you dedicated time to photograph the skyline from Central Park, which is a key part of why it feels more varied than a strict “downtown only” walk.
What I like about this part of the experience is that it teaches you a useful travel habit: don’t just photograph famous buildings from street level. Learn that the city’s shape changes when your viewpoint changes. From the park, you can often soften the surrounding chaos and emphasize the sky-to-city relationship.
You’ll have the chance to practice framing choices. Even without exact “here’s the precise bench” details, the concept is clear: you’re going to look for a composition that balances foreground and skyline. That’s where guidance on lines and angles becomes extra valuable, because parks can create natural framing elements—edges, paths, and sightlines—that help your photo feel structured.
Also, Central Park gives you a moment to slow down just enough to check your results. In the busier Midtown sections, you’re constantly deciding where to stand and what to include. In the park skyline time, you can start thinking like a photographer: wait for a moment, refine your angle, and shoot with intention.
If you’re the type who usually takes a quick snap and keeps moving, this stop can flip that pattern. You’ll come away more confident about photographing a skyline scene without feeling like you’re guessing.
You can also read our reviews of more photography tours in New York City


Subway-based pacing: efficient travel and the reality of moving fast
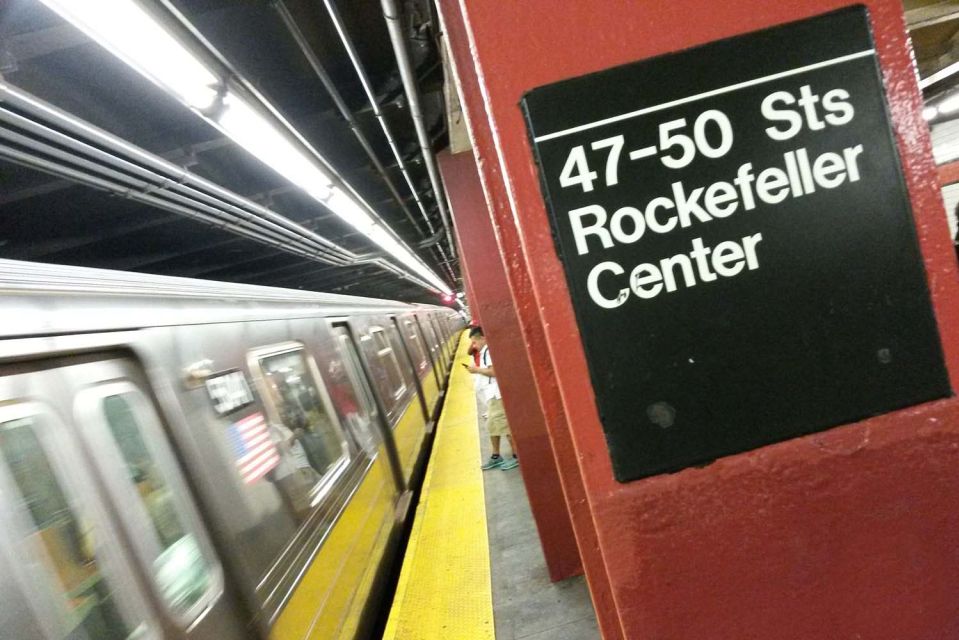
This is a walking + subway tour. The activity notes say subway fare is included, but one review points out that subway fees weren’t covered. Since the details don’t fully agree, I recommend acting like you’ll need to pay. Keep a MetroCard (or a payment method) handy so you’re not stuck at the turnstiles.
Even if you’re used to New York transit, the pace is still something to plan for. The tour uses the Subway system to connect areas in a short window, which means you’re likely going to be moving between stops relatively quickly. Wear shoes that can handle frequent walking and quick transitions. And dress for weather—rain doesn’t stop photo days here. One review notes the tour went ahead despite rainy conditions, so pack a light rain layer or plan your outerwear accordingly.
Another practical angle: subway stops and crowded cars can affect your photo gear and comfort. If you bring a bag, keep it simple and easy to manage. If your camera setup requires both hands for any length of time, practice doing that while moving. The goal is to keep you shooting—not stuck.
Finally, think about expectations for movement. This isn’t a sit-and-rest workshop. It’s a “shoot, learn, adjust, move” rhythm. If you can handle that, you’ll likely enjoy it a lot more, because the coaching sticks when you’re actively applying it.
Small-group coaching: what you gain when you’re not lost in a crowd
With up to 8 participants, the group size is one of the biggest reasons this tour can feel high value. In larger tours, you tend to get a quick “watch the guide” moment and then you’re on your own. Here, the instructor can see what you’re doing and help you adjust.
This matters most for composition and camera habits—exactly the skills this workshop emphasizes. When a pro can spot what you’re doing wrong (or simply what you could improve), your photos level up faster than if you’re left to experiment blindly.
It also helps if you’re traveling solo or you don’t know anyone in the group. You’ll still get individualized attention without the awkward “everyone else is ahead” feeling. Reviews highlight friendly, expert guidance and show that even people hoping for only a handful of great shots often end up with more once they understand how to frame and aim.
And because the tour is appropriate for all levels, you won’t be forced into technical jargon. The focus is on seeing better and shooting with more control—things that work whether you’re on a smartphone or a dedicated camera (as long as you’re bringing something you can shoot with).
If you’re curious how you’ll respond to a guided photo shoot: this tour’s instruction style, at least based on feedback, sounds approachable. Zim is mentioned by name in one review, and the tone comes across as supportive—helpful rather than intimidating.
Who should book this photo safari (and who might struggle)
This tour is a good match if you want to learn NYC photography with a real instructor while still seeing major sights. It’s also a strong choice if you’re the type who likes structure. Three hours is long enough to learn something, but short enough that you can still enjoy the rest of your day.
You’ll probably enjoy it most if:
- you want photos that look composed, not just documented
- you’re okay with moving and using the Subway
- you like having a pro give direction while you’re standing in front of the scene
Here’s where you should think twice:
- If you need a fully wheelchair-compatible route, be careful. The activity information includes conflicting notes about wheelchair accessibility. It also clearly states it’s not suitable for wheelchair users due to Subway use. In practice, assume it may not work for you if you rely on wheelchair access.
- If you hate transit and tight time windows, the subway-based pacing can feel stressful.
In terms of weather, plan as if it can get damp. The tour can still run in rainy conditions, so bring something you can wear while shooting.
Should you book this New York City Photo Safari tour?
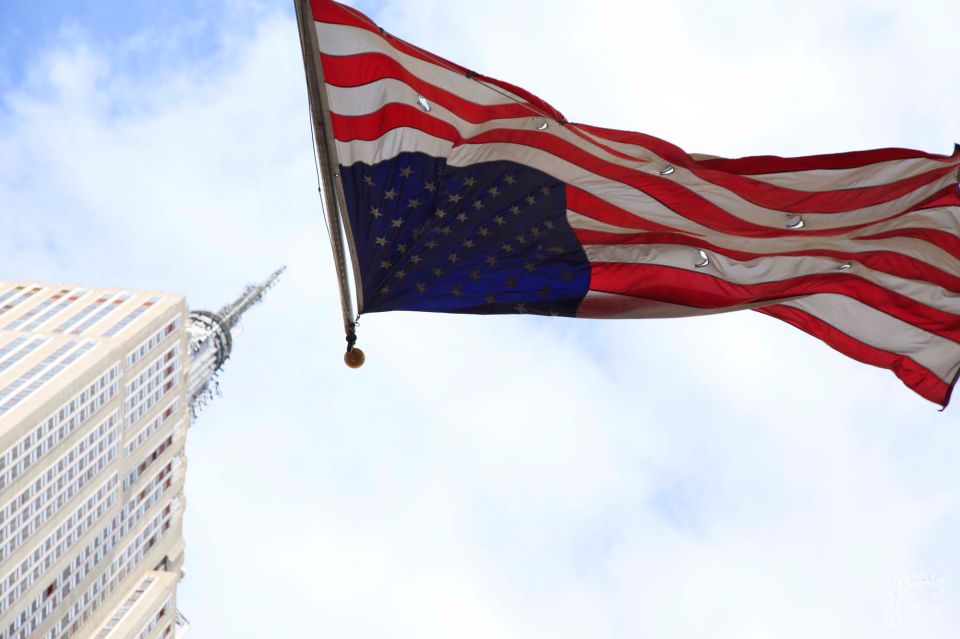
If your goal is to leave with better photos—and not just more photos—this is a smart use of three hours. The value is in the instruction: lines and angles coaching applied to real Midtown and park viewpoints, plus small-group attention from a professional photographer (including a guide named Zim, noted for friendliness and expertise).
I’d book it if:
- you’re curious about improving your composition quickly
- you want a structured route through Rockefeller Center, Radio City, the Empire State Building, and a Central Park skyline viewpoint
- you’re comfortable with a fast-paced walk and using the Subway
I’d hesitate if:
- you need a step-free, wheelchair-friendly experience
- you’re not comfortable with transit logistics
- you’re expecting a relaxed, purely sightseeing tour
If you book, prepare like a photographer. Wear comfortable walking shoes, bring a camera you can use immediately, and keep a MetroCard or payment method ready just in case. Then show up ready to shoot, adjust, and move—because that’s where the learning happens.
FAQ
Where is the meeting point?
The meeting point is at 34th and Madison.
How long is the tour?
The tour lasts 3 hours.
What does the tour cost?
It costs $125 per person.
What’s included in the price?
A professional photographer guides you, and subway fare is listed as included.
What’s not included?
Camera rental and meals aren’t included, and transportation beyond what’s covered is your responsibility.
Do I need to bring my own camera?
Yes. Camera rental is not included.
Is the tour suitable for beginners?
Yes. It’s appropriate for all levels of photographic experience.
Is it wheelchair accessible?
Wheelchair access is listed, but the tour also notes it is not wheelchair accessible due to using the Subway and it isn’t suitable for wheelchair users.