REVIEW · NEW YORK CITY
New York Photography Masterclass – Private Photography Lesson
Book on Viator →Operated by Aperture Tours · Bookable on Viator
New York looks different when someone teaches you how to see. This private photography masterclass is built for real practice: you’ll get local intel, then use it right away with personalized instruction that adapts to your level. Guides like David Castillo, Alexa, and Jahne are repeatedly praised for tailoring the session and helping you turn NYC streets, architecture, and skyline into images that actually make sense.
I especially like the mix of iconic angles and off-the-beaten routing, so you’re not stuck doing the same shots everyone else posts. One drawback to consider: at $190 per person, it’s best value when you want coaching and hands-on guidance, not just a scenic walk.
In This Review
- Key things I’d focus on
- How this 3-hour NYC masterclass turns walking into photos
- Starting at 174 W 42nd St: your lesson begins with a plan
- The real teaching: composition, camera settings, and street-photo thinking
- Iconic Midtown stops and the payoff of local routing
- How dawn, street, and night sessions change your images
- Shooting at dawn: cleaner light with fewer problems
- Street mode: cobblestones, history, and lived-in scenes
- Night mode: skyline and bridges with creative technique
- A realistic breakdown of what you’ll do during those 3 hours
- What to bring so you get the most from the tuition
- Price and value: is $190 per person fair for NYC?
- Who should book this private masterclass
- Should you book the New York Photography Masterclass?
- FAQ
- Where does the tour start?
- How long is the photography masterclass?
- Is this a private experience?
- What’s included in the price?
- What language is the tour offered in?
- Can I get a refund if plans change?
Key things I’d focus on
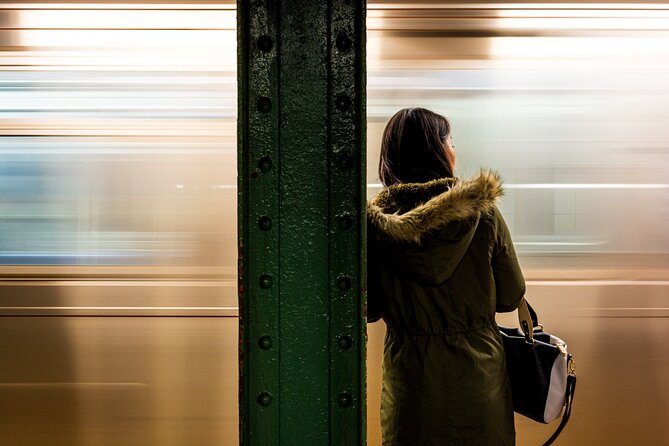
- Private, 3-hour tuition that’s tailored to your skill level, not a one-size class
- Local spot intelligence that helps you find better angles faster
- Practice across lighting and viewpoints so you learn how to shoot in real conditions
- Street and architecture skills like patterns/shapes, composition, and street-photo storytelling
- Adaptability if you want more iconic stops or more side streets
How this 3-hour NYC masterclass turns walking into photos
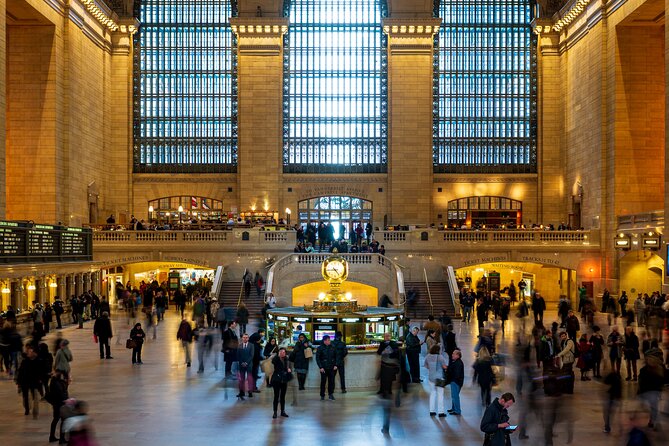
This isn’t a lecture with a few quick stops. The goal is simple: you leave with more images you’re proud of, and you understand why they work.
You’ll start with photography tuition, then you’ll immediately apply it on the street. That matters in New York because conditions change fast—sun breaks through, crowds surge, shadows shift along buildings. A good guide helps you keep moving without guessing.
Most importantly, your instruction is described as personalized. That usually means you won’t get stuck with the wrong level of detail. If you’re new, you’ll likely get clear steps. If you’re more advanced, you’ll likely get sharper feedback instead of basic reminders.
You can also read our reviews of more private tours in New York City


Starting at 174 W 42nd St: your lesson begins with a plan
Meet at 174 W 42nd St, New York, NY 10036. From there, you’ll move as the guide builds your shooting plan for the time of day and what you want to focus on.
Even though this is a “masterclass,” it still works like fieldwork. You’re not just showing up at landmarks. You’re learning how to approach a scene: what to look for, how to frame it, and what to do when the light and background fight you.
This is also why the exact meeting point helps. You can get your bearings fast and start shooting sooner, instead of burning the first part of the session “figuring out where to go.”
The real teaching: composition, camera settings, and street-photo thinking
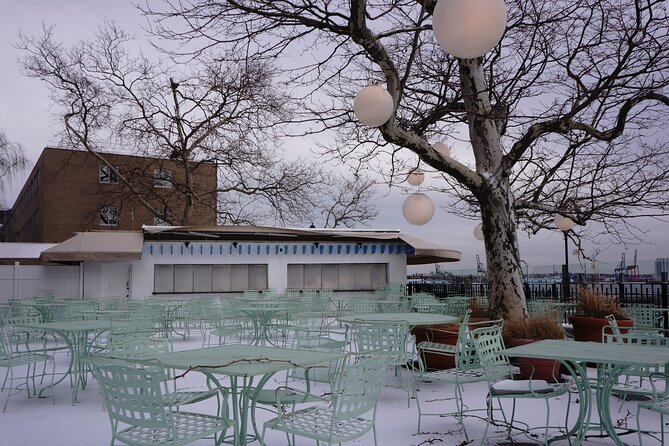
A lot of photography tours teach where to stand. This one leans harder on how to stand—and why.
From past sessions with guides tied to this experience, you can expect coaching around:
- Composition for street scenes and architecture
- How to see patterns and shapes in buildings and details
- Practical camera settings (including nudging people toward Manual mode when it helps)
One review noted a shift from AV mode to Manual mode, plus encouragement that the guide kept working with the guest rather than giving up when the settings felt unfamiliar. That’s the kind of support you want in NYC, where the light can change minute to minute.
You’ll also get lessons meant for street photography—how to make a picture feel like a story instead of a random snapshot. That’s where a guide’s taste matters. City streets can look messy through a viewfinder until someone helps you find structure: lines, repetition, contrast, and moments you can anticipate.
Iconic Midtown stops and the payoff of local routing
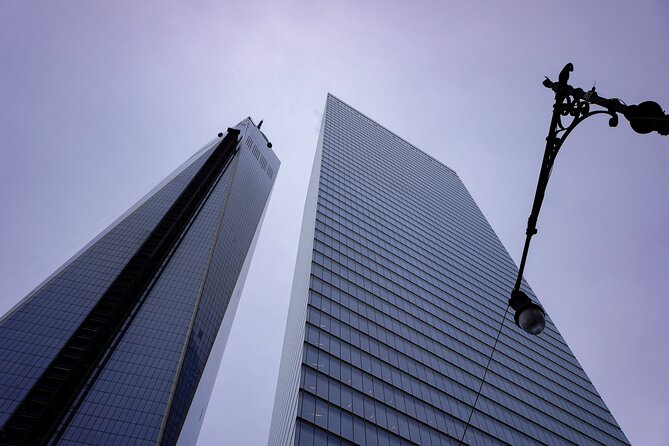
New York’s famous sights are famous for a reason—but your photos improve when you’re taught how to use them.
This masterclass includes local intel on the best locations in New York City to photograph. The “best locations” part is key. It usually means better angles, better sight lines, and places where you can work your framing without constant interruptions.
The route is also described as a mix of iconic and less well known venues. That blend tends to be the sweet spot for most people:
- Iconic spots give you images you recognize immediately
- Side streets and lesser-seen areas give you variety and stronger personal style
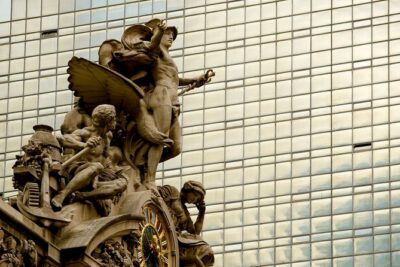
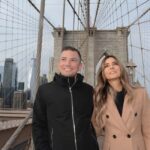
From guide-led examples, your lesson may include areas like Midtown, and if you’re covering more ground, it can trend toward places with strong geometry and dramatic views. Reviews specifically call out coverage ranging from Midtown neighborhoods to areas around DUMBO and toward the Brooklyn Bridge—so you’re not limited to one visual theme.
One more underrated benefit: you’ll practice “at your own pace.” In practice, that means you can stop for a few frames, try a different angle, and not feel rushed into the next photo spot before you’ve tested your settings.
How dawn, street, and night sessions change your images
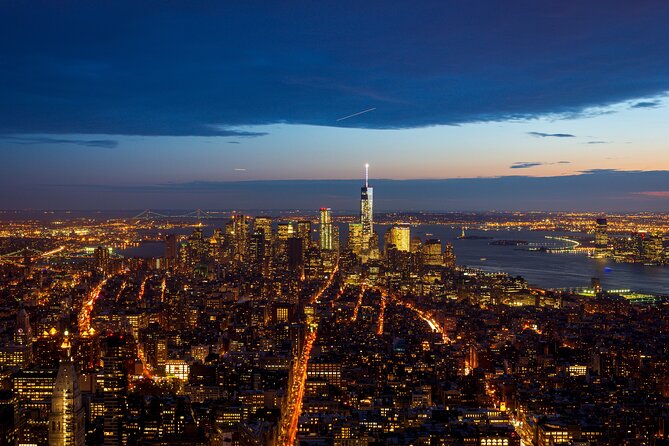
The experience is presented in a way that connects to different NYC “modes”: dawn, street, and night. Even if your actual 3-hour lesson focuses on one time window, the teaching style fits whichever mode you’re shooting.
You can also read our reviews of more photography tours in New York City

Shooting at dawn: cleaner light with fewer problems
The dawn idea is crowd-light photography. Early light helps buildings look dimensional, and you often get easier conditions for framing.
If you struggle with harsh midday glare, dawn lessons can fix your instincts fast. You start paying attention to direction of light, not just subject matter.
Street mode: cobblestones, history, and lived-in scenes
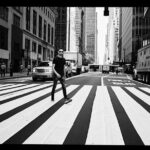
For street photos, the lesson approach is about capturing the “essence” of the city—historic neighborhoods, street textures, and landmark context without turning everything into a postcard.
This is where composition coaching really pays off. You learn how to work a scene so it feels intentional, even when the street itself feels chaotic.
Night mode: skyline and bridges with creative technique
Night photography is where New York can look like a dream—if you learn the basics of exposure and how to handle bright points of light.
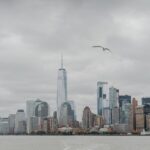
Past sessions specifically reference a focus on New York skyline at night and helpful guidance from the guide. The main value here is learning how to control what the camera records: sharp architecture versus soft glow, dark streets versus reflective surfaces, and how to avoid turning lights into blown-out blobs.
A bonus detail from a rainy-day experience: rain can turn NYC into a reflection playground. If you’re willing to dress for the weather, you can get moodier scenes with shiny street texture and glimmering building edges.
A realistic breakdown of what you’ll do during those 3 hours
Because this is private, the exact stops can shift to match your goals and your guide’s plan. But the structure tends to follow a pattern that makes sense for learning in the field.
Here’s a practical way to think about the timeline:
- Warm-up and assessment: you connect with the guide, explain what you want, and get started with an approach to shooting
- First location practice: you apply composition and settings coaching immediately
- Second location with lighting/angle changes: you repeat the process where light and background differ
- More side-street or off-route shooting: you try your new skills on less obvious scenes
- Wrap-up feedback: you use the final minutes to refine images and plan what to do next when you get home
This is also why the tour is described as practicing at your own pace. You’ll have room to slow down, try a new angle, and shoot enough frames to actually test the lesson instead of “getting one photo and moving on.”
What to bring so you get the most from the tuition
You’ll get more out of the masterclass if you show up ready to shoot and adjust.
Bring:
- Your camera (and lenses you actually use)
- Extra battery and memory space
- Any strap you’ll keep on all walk—because stopping to dig gear out kills your shooting time
- A way to check settings quickly (your camera’s screen is fine)
If you’re debating between auto modes and manual, consider this: at least one past lesson specifically included switching someone toward Manual mode to improve results. Even if you keep your usual settings, expect the guide to help you make them work.
Also dress for NYC. Even in a short session, weather changes can hit hard. If it rains, the reflective surfaces can create very different photos than bright dry streets.
Price and value: is $190 per person fair for NYC?
$190 per person for about 3 hours is not cheap. But it also isn’t random sightseeing pricing. This price includes a photography guide plus photography tuition, and it’s private, meaning you’re not competing for attention with a big group.
So the real value question is: do you want coaching that changes your pictures? If yes, this can be a smart buy. NYC is too expensive to spend time on photos that don’t improve your eye. A good guide helps you skip guesswork and focus on what will work in this city.
If you already know your camera well and just want a scenic walk, the price might feel high. But if you want structure—composition, settings, and location choices—$190 starts to look like tuition, not admission.
One more value point: the tour is described as booked about 19 days in advance on average. That tells me this format is popular. If you’re traveling in peak periods, planning ahead helps you avoid losing your preferred time window.
Who should book this private masterclass
This experience fits best if you want:
- A personal photo coach in a city where light changes constantly
- Help with street photography, architecture, composition, and telling a visual story
- A route shaped around your goals—iconic shots plus less obvious angles
You’ll especially like it if you feel stuck between two problems: you take photos, but you don’t know how to make them better; or you know photography basics, but NYC overwhelms your framing decisions.
It may feel less perfect if you’re expecting a full tour of major landmarks with minimal instruction. This is instruction-first. The guide is there to teach how to shoot, not just to point at famous buildings.
Should you book the New York Photography Masterclass?
Yes, if you want NYC photos you can explain. This is one of those “I learned something and I shot better” experiences, mostly because the guide doesn’t just show places—they teach how to work the scene you’re given.
Book it if you:
- Want tailored feedback at your current level
- Care about street scenes, architecture details, or night skyline results
- Prefer hands-on practice over passive watching
Skip it if you mainly want to collect landmark checkmarks and you already have a strong handle on composition and settings. For everyone else, especially first-time NYC photographers who want guidance fast, the value is strong.
FAQ
Where does the tour start?
The tour starts at 174 W 42nd St, New York, NY 10036, USA.
How long is the photography masterclass?
It lasts about 3 hours.
Is this a private experience?
Yes. It’s private, and only your group will participate.
What’s included in the price?
You get a photography guide and photography tuition.
What language is the tour offered in?
The experience is offered in English.
Can I get a refund if plans change?
Yes. Free cancellation is available if you cancel up to 24 hours in advance for a full refund.