REVIEW · NEW YORK CITY
NYC Central Park Night Time Photography Tour
Book on Viator →Operated by New York City Photo Safari · Bookable on Viator
Central Park gets serious after dark, and this tour turns that darkness into photos. I like the small-group attention and how the pro guide, Zim, keeps you moving while still working with both new and experienced shooters on the basics. I also like that you’re not just sightseeing; you’re learning how to make night shots look intentional, from fountain reflections to skyline framing.
One thing to consider: you must bring your own tripod, and night photography is more comfortable if you’re okay with a bit of walking on uneven park paths.
In This Review
- Key things to know before you go
- Nighttime Central Park Photography Tour: what you’re actually buying
- Meeting at Pulitzer Fountain and getting your shot plan together
- Bethesda Fountain after dark: long exposure practice you can learn from
- The Plaza and a notable bridge walk-by: quick composition chances
- Dairy Visitor Center and Gift Shop: Manhattan skyline with a practical viewpoint
- Bethesda Terrace: where architecture turns into night drama
- The Mall and Literary Walk: turning long lines into strong night shots
- Naumburg Bandshell: the quick stop that can still teach you a lot
- Central Park finale and skyline opportunities for your final frames
- Why the guide and small-group size matter (especially with Zim)
- Price and value: is $150 for a 2-hour night shoot worth it?
- What to bring for Central Park night photography (tripod required)
- Who this tour suits best, and who should skip it
- Should you book this NYC Central Park Night Time Photography Tour?
- FAQ
- What time does the tour start?
- How long is the NYC Central Park night photography experience?
- Where do I meet, and where does it end?
- Is Central Park admission included?
- Do I need to bring a tripod?
- What is the maximum group size?
- What is the cancellation policy?
Key things to know before you go
- Max 6 people means Zim can adjust your setup instead of lecturing to a crowd
- Long-exposure practice at Bethesda Fountain is the heart of the night
- Manhattan skyline views show up at multiple stops, not just one
- A stop plan built around photo timing keeps you at the right places for low light
- Tripod required, so pack smart and plan for steady shots
Nighttime Central Park Photography Tour: what you’re actually buying
This is a guided, small-group night walk focused on photo technique. You’re paying $150 per person for a pro photographer guide, entry for Central Park, and structured chances to photograph specific scenes—especially places where nighttime lighting gives you strong results without you needing to guess where to stand.
At two hours, the pace is purposeful. You’ll move between spots, get quick coaching, and then spend short bursts working a shot. That works well if you want more than a casual photo stroll. It’s also a good fit if you’ve tried nighttime shots at home and wondered why they never look sharp or why backgrounds blur into a mess.
You’ll see a side of Central Park that’s harder to experience in daylight: quieter paths, dramatic architecture, and water-and-stone details that pick up light at night. You’ll also practice “real world” photography—handing over your camera to changing light, changing angles, and changing conditions instead of shooting one perfect postcard location.
You can also read our reviews of more evening experiences in New York City


Meeting at Pulitzer Fountain and getting your shot plan together
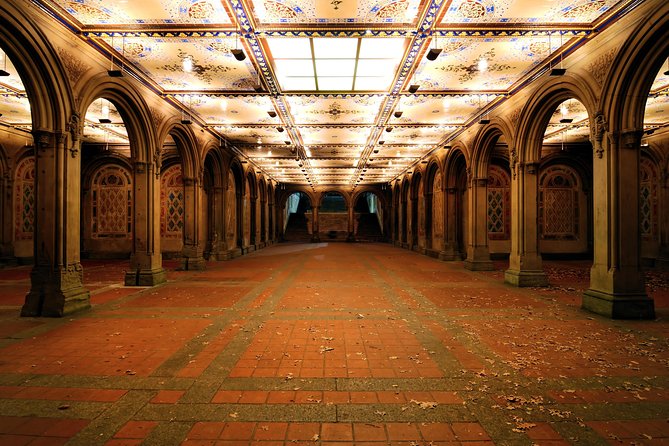
You’ll start at Pulitzer Fountain, 764 Central Park S, New York, NY 10019 (a very practical meeting point if you’re using public transportation). The start time is 8:30 pm, which matters because that’s the kind of evening light level where street lamps and park lighting start doing the heavy lifting.
Early on, expect a quick focus shift: night photography often fails for simple reasons—no stable support, shutter speeds that drift too long, or framing that looks fine in daylight but falls apart in dark. With a small group and a guide who can work with you one-on-one, you should be able to get your bearings fast: where to aim, how to stabilize, and how to approach long exposures rather than hoping for magic.
Because this tour is limited to six travelers, you’re not likely to get stuck waiting your turn. If you’re brand new, this is the moment to ask basic questions. If you’ve shot at night already, it’s the moment to pressure-test your current approach.
Bethesda Fountain after dark: long exposure practice you can learn from
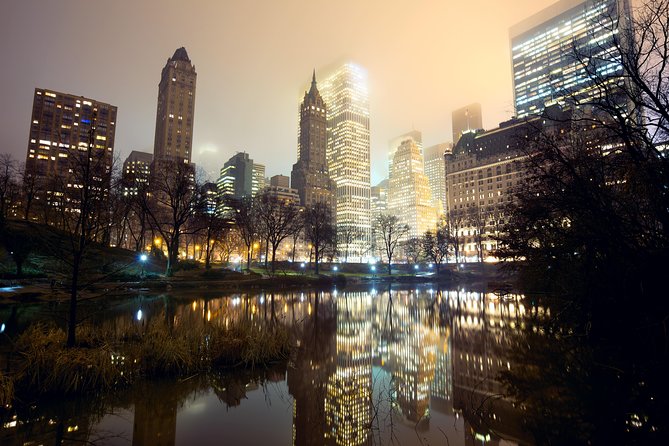
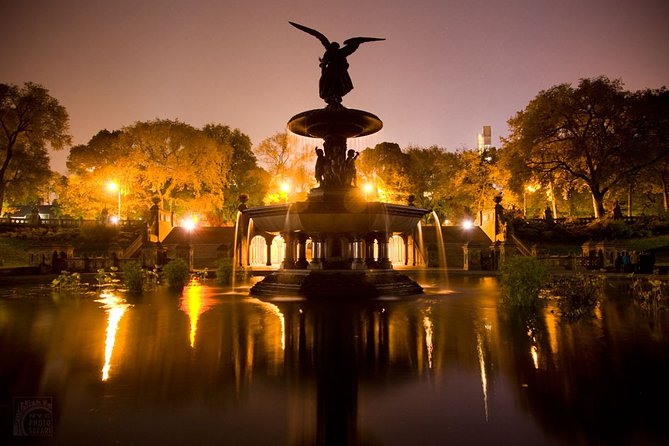
Bethesda Fountain is the standout night subject on this tour, and you get about 20 minutes there. This is the classic “why nighttime photography works” stop: the lighting, the stonework, and the water give you texture and contrast, and long exposures can create a polished, cinematic look.
Here’s what you’ll be working on:
- Setting up for steadiness (this is where your tripod matters)
- Making sure your framing includes the details you want, not just the general scene
- Using longer exposure time to pull light across the fountain without turning everything into mush
A good guide will help you avoid the most common trap: taking a long-exposure shot that’s still too shaky because the camera isn’t stable, or because the setup is rushed. You’ll also learn how to think in layers—foreground stone, fountain structure, and background light—so your photo looks planned even if the park is changing around you.
Drawback to plan for: this is a busy, recognizable spot, so you may have moments where you’re waiting for a clear angle. Short group time means you’ll want your setup ready quickly once you get a good position.
The Plaza and a notable bridge walk-by: quick composition chances
Next you’ll pass through The Plaza area (about 5 minutes) and then walk by a notable Central Park bridge. These shorter stops are not filler. They’re timed to keep your eye sharp as light and angles shift.
This is where you can experiment:
- Try a wider composition while you still have easy context
- Practice tightening your frame so the subject stays clear in low light
- Look for leading lines—paths, edges, railing lines, and architectural shapes that guide the eye even when it’s dark
For most people, bridge views and plaza angles are also a reminder that night photography isn’t always about long exposures. Sometimes you’ll prefer quicker shots that keep people from becoming blurry silhouettes. You’ll be guided toward what to try, but these brief moments give you room to test and learn.
If you’re hoping for long “hang time” at every location, note the tour is structured. It’s a coaching walk, not an all-night photo picnic.
Dairy Visitor Center and Gift Shop: Manhattan skyline with a practical viewpoint
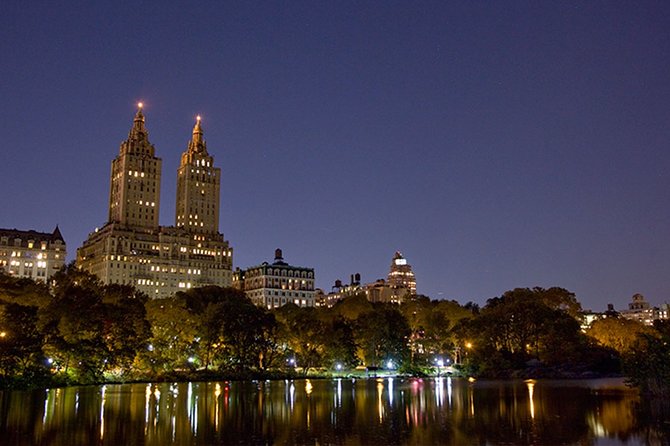
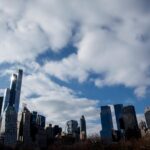
Then you’ll move to the Dairy Visitor Center and Gift Shop for about 15 minutes. This is one of the more useful stops because it sets you up for photographing the Manhattan skyline from inside the park.
Why this stop matters: skyline photos at night can become bland if you frame them wrong. The skyline is bright, but it can overpower the scene if everything else turns dark gray. This is where a guide helps you choose a view that includes enough park detail to give scale.
You’ll also get a chance to adjust for one of the real-life problems of night city shots: the skyline is often sharp and bright, while the park foreground might be underexposed. You’ll learn how to think about exposure balance so the photo has both a subject and an atmosphere, not just a glowing line of buildings.
You can also read our reviews of more photography tours in New York City
Bethesda Terrace: where architecture turns into night drama
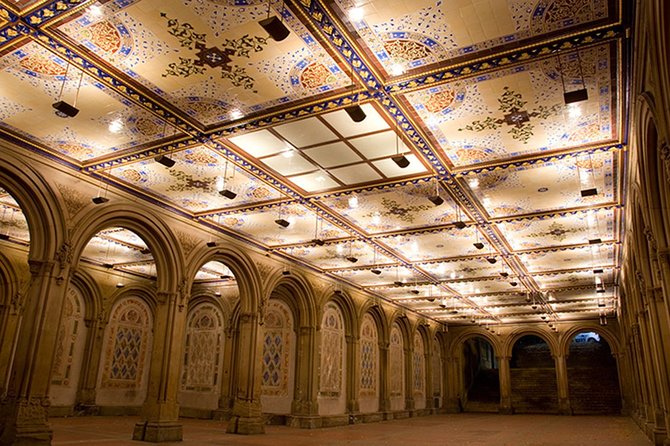
Bethesda Terrace gets about 30 minutes, which is plenty of time to try multiple compositions without feeling rushed. This stop is a favorite style-wise because the terrace architecture creates strong shapes that stand out in low light.
You can expect:
- Opportunities to photograph the terrace itself from angles that show depth
- Views where the city glow supports the stone and helps define edges
- More chances for long exposure work, depending on the camera setup you’re using and what the guide suggests
In practical terms, a terrace stop is great for learning how to see lines and symmetry at night. When it’s dark, your brain stops “reading” details as easily. Architecture helps, because it offers clear geometry even with limited visibility.
Consideration: winter or windy nights can make tripod use more challenging. If the weather is cold, keep your hands warm and avoid slow fumbling with camera controls.
The Mall and Literary Walk: turning long lines into strong night shots
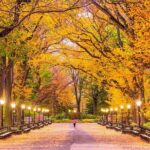
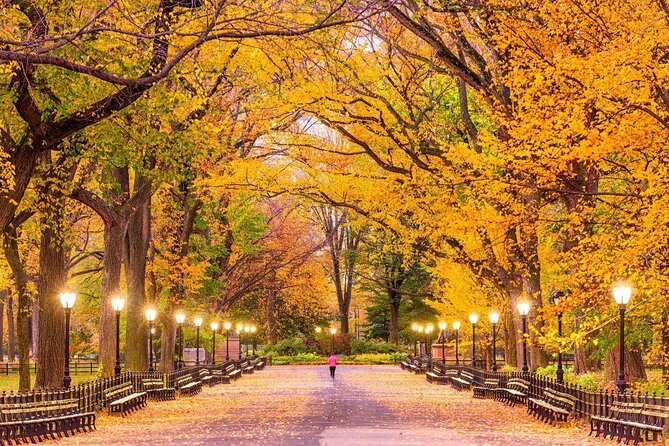
You’ll spend around 15 minutes on The Mall and Literary Walk. This part of Central Park is especially good for practicing composition because long sightlines keep your camera pointed at something meaningful even when it’s dark.
This is where you can work on:
- Framing depth—so the walkway doesn’t turn into a dark tunnel
- Using light sources along paths to create a gradient into the distance
- Keeping the subject clear, instead of letting the whole scene become uniformly dim
If you’re new to night photography, this stop is a confidence builder. It gives you structure for your photos when the usual trick—colorful daylight scenery—won’t help much.
If you’re more experienced, it’s a chance to experiment with how long exposures render the environment here. Even when the guide is teaching the basics, this is a good area to test your own preferences.
Naumburg Bandshell: the quick stop that can still teach you a lot
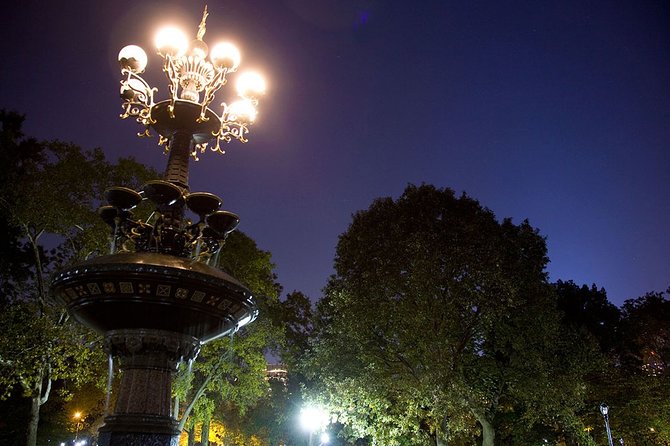
Naumburg Bandshell is a short stop (about 5 minutes). That might sound brief, but short stops can be powerful for learning because they force you to commit quickly.
Use this time to:
- Find a strong angle and get your first frame before second-guessing
- Try a different framing than your earlier shots
- Capture a “smaller story” detail instead of chasing the grand vista every time
Think of Naumburg as a mini assignment. Even if you leave with just one solid image from this stop, you’ll have practiced moving fast and making decisions.
Central Park finale and skyline opportunities for your final frames
After all the key named photo stops, you’ll continue to photograph Central Park at night and you’ll have another opportunity to capture the amazing Manhattan skyline. The big value here is repetition: multiple angles, multiple light conditions, and a chance to refine what you learned earlier.
This finale is where I’d focus on your best shot strategy:
- Don’t keep re-shooting the same framing. Instead, adjust one thing at a time.
- If your early long exposures were too bright or too dim, correct it.
- If your foreground is disappearing, try a different vantage point rather than just changing exposure.
Because you’re working with a guide and a small group, you can ask for quick feedback. That’s the real advantage of this setup: you’re not stuck guessing your way to better photos.
Why the guide and small-group size matter (especially with Zim)
One review highlight that really shows up in how the tour runs is personal help. Zim is the kind of guide who can work with both novice and experienced photographers, while keeping the group together. That combo matters a lot at night.
At night, small problems turn into big failures fast. A tripod isn’t level. A frame is tilted. Exposure is off. A person moves into the scene. If you’re part of a larger group, you usually don’t get fast corrections. Here, the limit of 6 people makes it much easier to get the fix you need right when you’re shooting.
This also helps you learn. You don’t just copy what the guide does. You understand what to try next time because you get coaching in the moment.
Price and value: is $150 for a 2-hour night shoot worth it?
$150 per person is not the cheapest Central Park activity. You’re paying for a professional photographer guide, Central Park entry, and focused coaching in a short time window. If you already know how to shoot at night and own the gear, you might find it pricey.
But if you want structured learning—especially long-exposure practice at Bethesda and guided skyline framing—this price starts to make sense. Night photography isn’t hard because it’s complicated; it’s hard because it’s picky. A good guide cuts wasted time and helps you avoid the usual “why does it look blurry” problems.
For most people, the biggest value is the mix of:
- Targeted photo stops
- Short coaching moments
- Small group control so you can actually try and adjust
What to bring for Central Park night photography (tripod required)
Plan for tripod work. The tour specifically notes that you must bring your own tripod. That alone changes how you should pack and what kind of photos you’ll be able to try. If you don’t have one, you’ll likely be stuck doing only the simplest handheld ideas, which is not the best use of a long-exposure-focused tour.
Beyond the tripod, bring:
- Comfortable walking shoes for uneven paths
- A way to keep your camera controls easy to use in low light
- Extra batteries if you can, since cold and darkness can reduce performance
If you wear thick gloves, make sure you can still adjust settings quickly. The tour is timed, so slow fumbling can cost you shot opportunities.
Who this tour suits best, and who should skip it
This is a strong match if you:
- Want to learn night photography basics without getting lost
- Like guided composition, not just wandering
- Have a tripod and want to practice long exposures
- Prefer a small group with personal attention
You might want to skip or reconsider if you:
- Don’t want to bring or carry a tripod
- Expect a relaxed, slow sightseeing pace at every stop
- Have difficulty walking at night with a moderate physical effort level
Should you book this NYC Central Park Night Time Photography Tour?
I’d book it if you’re serious about improving night photos fast, and you’re ready to bring your tripod. The combination of small-group coaching, long-exposure time at Bethesda Fountain, and multiple skyline/photo-composition stops is exactly the kind of structure that turns night photos from hit-or-miss into repeatable results.
If you’re only interested in quick snapshots and don’t want to deal with long exposures, you may feel the tour is more work than you want. But if you like the idea of learning by doing—while a pro guide keeps you on track—this is a solid, practical way to spend a night in Central Park.
FAQ
What time does the tour start?
It starts at 8:30 pm.
How long is the NYC Central Park night photography experience?
It’s listed as approximately 2 hours.
Where do I meet, and where does it end?
You meet at Pulitzer Fountain, 764 Central Park S, New York, NY 10019, USA. The tour ends at Bethesda Terrace, New York, NY 10024, USA.
Is Central Park admission included?
Yes, entry/admission for Central Park is included.
Do I need to bring a tripod?
Yes. The tour requires you to bring your own tripod.
What is the maximum group size?
The tour is limited to a maximum of 6 travelers.
What is the cancellation policy?
You can cancel for a full refund up to 24 hours before the experience’s start time. Free cancellation is available.