REVIEW · NEW YORK CITY
Manhattan Architecture Photography Tour
Book on Viator →Operated by New York City Photo Safari · Bookable on Viator
Manhattan buildings practically beg for better photos. This Manhattan architecture photography tour pairs you with a pro photographer guide, so you learn how to frame big names like Grand Central Terminal, the Chrysler Building, and Times Square instead of just taking random shots. I especially liked the hands-on teaching—how to use angles, how to work with your camera’s abilities, and how to cut out the boring parts of a scene.
One thing to plan for: moderate physical fitness. You’re moving between several locations in about 3 hours, and many stops are short (often around 10–20 minutes), so you’ll want to be ready to shoot fast.
In This Review
- Key Things You’ll Notice Right Away
- Why This Manhattan Architecture Photography Tour Works for All Skill Levels
- Meeting at Pershing Square: What to Expect Before You Start
- Grand Central Terminal: How to Photograph a Massive Space in 20 Minutes
- Chrysler Building in 10: Finding the Best Angles Fast
- Times Square at Photo-Speed: Lights, Motion, and the Real Hustle
- New York Public Library Exterior: Strong Lines, Noticeable Results
- Bryant Park and the Empire State Connection (15 Minutes, Ticket-Free)
- Pershing Square Signature Center: A Small Bonus with Broadway-Edge Variety
- What You’ll Learn That Actually Changes Your Photos
- Price and Value: Is $125 Worth It?
- Who This Tour Suits Best (And Who Might Not Love It)
- Should You Book This Manhattan Architecture Photography Tour?
- FAQ
- FAQ
- How long is the Manhattan Architecture Photography Tour?
- How much does the tour cost?
- Where do we meet?
- Is a digital camera included?
- What’s the group size limit?
- What language is the tour offered in?
- What admission tickets are included on the stops?
- Is there a weather requirement?
- Can I cancel for a full refund?
- Are children allowed?
Key Things You’ll Notice Right Away
- Pro photography tuition, not a lecture: You get real tips you can use immediately at each stop.
- Taught viewpoints for major icons: You’ll learn angles at places like Times Square that are hard to figure out alone.
- Small group energy (max 8): Better attention, and you’re not lost in a crowd.
- Built for all levels: I like that the guide adjusts recommendations for beginners without talking down.
- Entry is included where it matters: Grand Central Terminal and the New York Public Library exterior stops are covered.
Why This Manhattan Architecture Photography Tour Works for All Skill Levels
If you’ve ever stood in front of a famous building and thought, I know it’s impressive, but my photo looks… plain, this tour is built for that moment. You’re not just sightseeing. You’re learning how to see—angles, framing, and what to leave out—while you’re actually standing where the photo happens.
A big reason this experience earns top marks is the way the guide teaches. In the feedback, you’ll see names like Zim (and one review referencing Jim), and the theme is consistent: the instruction is patient, practical, and geared to your level. If you’re brand-new, you’ll get calm help and clear suggestions. If you’ve shot before, you’ll likely find gaps—like the camera features you didn’t realize you were ignoring.
You also get real photo confidence from the small-group format. With a maximum of 8 people, it’s easier to ask a question and get feedback that’s actually tied to what you’re pointing at. That matters in Manhattan, where the best composition can disappear fast once crowds shift.
You can also read our reviews of more photography tours in New York City
Meeting at Pershing Square: What to Expect Before You Start
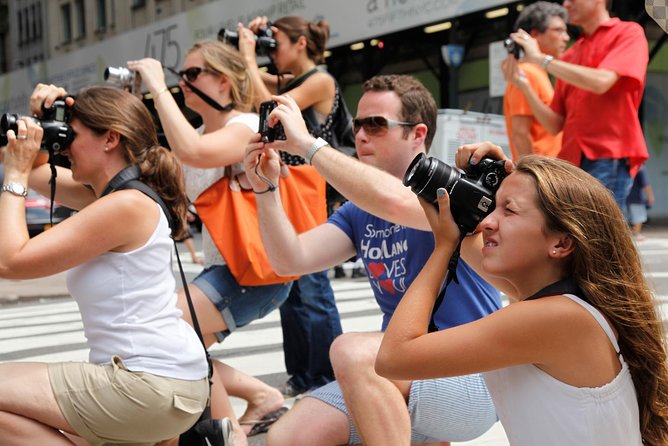
You meet at Pershing Square (90 E 42nd St, New York, NY 10017). The location is handy because you’re near public transportation, and you’re starting in an area that connects well to the rest of your stops.
Plan your setup before you arrive. The tour does not include a digital camera, so bring your own. Many people will shoot with a phone, but the tour’s focus is still about technique—getting the angle, handling light, and cleaning up the frame.
Also, expect walking. The schedule is tight, and several stops are short. So wear comfortable shoes and keep your gear ready. If your battery runs low mid-session, you’ll lose precious time.
Finally, the experience depends on conditions. It requires good weather, and if it’s canceled because of poor weather, you’ll be offered a different date or a full refund.
Grand Central Terminal: How to Photograph a Massive Space in 20 Minutes
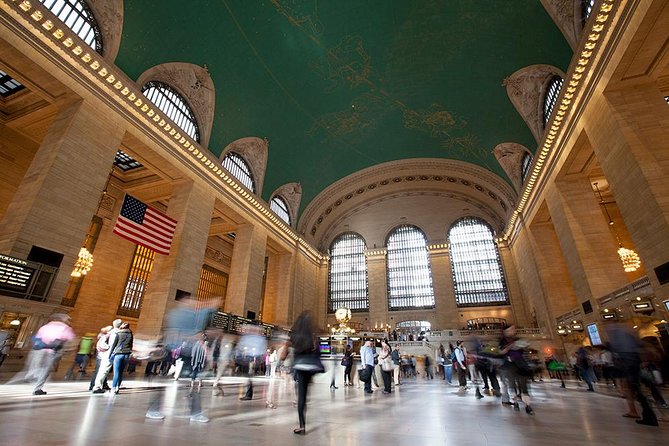
Stop 1: Grand Central Terminal is where the tour flexes. You get about 20 minutes and entry is included, and the goal is simple: photograph the grandest interior space in New York City.
Grand Central can be tough to shoot because it’s so detailed and so tall. You’ll face wide spans, repeated shapes, and busy visual elements. This is exactly where guide-led instruction pays off. Instead of trying to capture everything, you learn how to pick a focal direction—how to frame the ceiling, how to line up strong verticals, and how to avoid turning the shot into a messy scrapbook.
What I like here for beginners: you’re taught to think in components. You’re not guessing. You’re getting guidance on what to emphasize and what to crop out mentally before you press the shutter.
Time is the catch, though. Twenty minutes sounds long until you add entry, positioning, and crowd movement. You’ll want to arrive ready with one or two composition ideas in mind, then let the guide help you refine them on the spot.
Chrysler Building in 10: Finding the Best Angles Fast
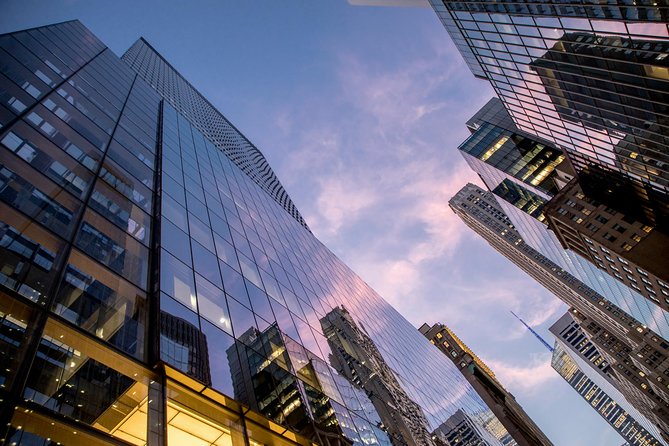
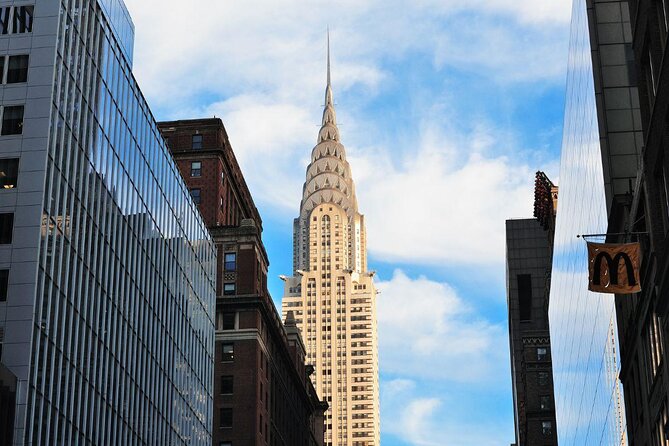
Stop 2: Chrysler Building gives you around 10 minutes, and there’s no admission ticket tied to this stop.
This is the kind of stop where technique matters more than patience. You’re trying to find the best angle for the building quickly—then nail the shot before the moment passes. If you’ve ever chased a landmark but missed the best view because you didn’t know where to stand, this portion solves that.
The value here is that you’re not left to experiment blindly for half an hour. Instead, you get directed positioning so you can focus on camera control—clean lines, stable framing, and choosing a background that doesn’t fight the subject.
Times Square at Photo-Speed: Lights, Motion, and the Real Hustle
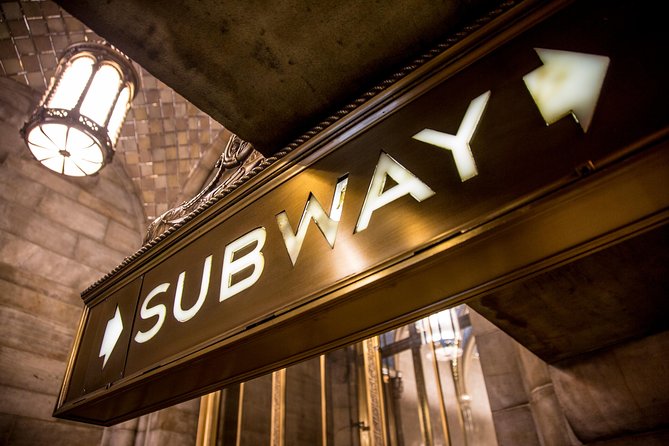
Stop 3: Times Square runs about 15 minutes, and there’s no admission ticket.
Times Square is famous for one thing: visual noise. That’s also why it’s an excellent training ground. Your guide’s job is to help you capture the lights and the bustle without making the photo look like a blur of random bright pixels.
In the teaching approach, you’ll hear the same theme people love: angle choices and removing boring space. Times Square is packed with stuff. The trick is deciding what story you want your image to tell—whether it’s the glow of signs, the feeling of movement, or the structure of the streets around the crowds.
One practical note: this stop is where shooting can feel crowded even if the tour is organized. You’ll still need flexibility—step, wait, shoot, repeat. The upside is that you’re learning how to work in a chaotic environment, not just in perfect, calm photo conditions.



New York Public Library Exterior: Strong Lines, Noticeable Results
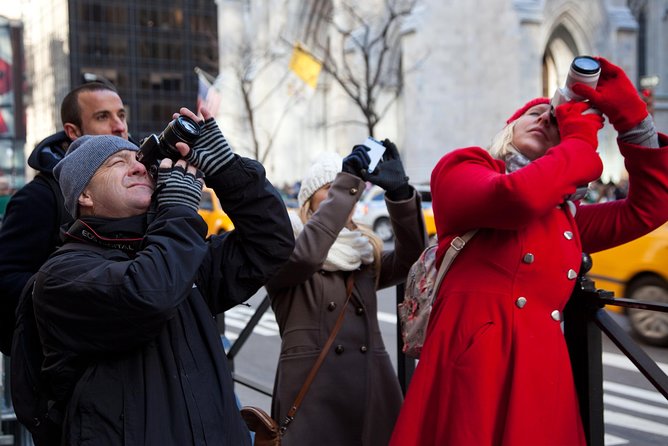
Stop 4: New York Public Library is about 15 minutes, and entry is included.
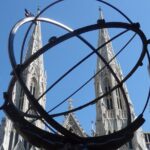
This stop is all about the exterior, which is great for photographers because the subject is more controlled than Times Square. The building’s structure is visually strong—clean geometry, bold details, and a facade that rewards careful framing.
You’ll have time to work through at least a couple angles. That’s important because architecture photos often depend on tiny choices: how centered the composition feels, how the vertical lines behave, and whether the surrounding elements support the main subject.
If you’re a beginner, this is a confidence builder. The architecture is designed to photograph well, and with a guide’s coaching, you’ll likely walk away with at least one photo that looks polished without needing hours of editing.
Bryant Park and the Empire State Connection (15 Minutes, Ticket-Free)
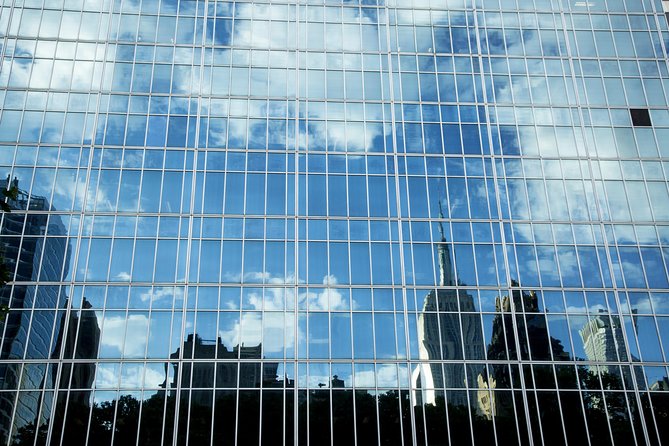
Stop 5: Bryant Park gives you about 15 minutes, with no admission ticket required.
Bryant Park matters because it’s a practical staging area for big skyline shots. The tour’s promise here is specific: it’s a strong location for brilliant shots of the Empire State Building.
This is another stop where direction helps. You’re not just finding a random view—you’re aiming for a shot where the foreground and the Empire State relationship make sense. That means thinking about depth and separation: getting the building as the hero while the park framing supports the scene rather than cluttering it.
The time limit again is the tradeoff. Fifteen minutes is plenty if you’re efficient. If you wait for the perfect moment too long, you’ll feel rushed when the group is moving on. The guide’s value is that you can shoot, adjust, and improve fast.
Pershing Square Signature Center: A Small Bonus with Broadway-Edge Variety
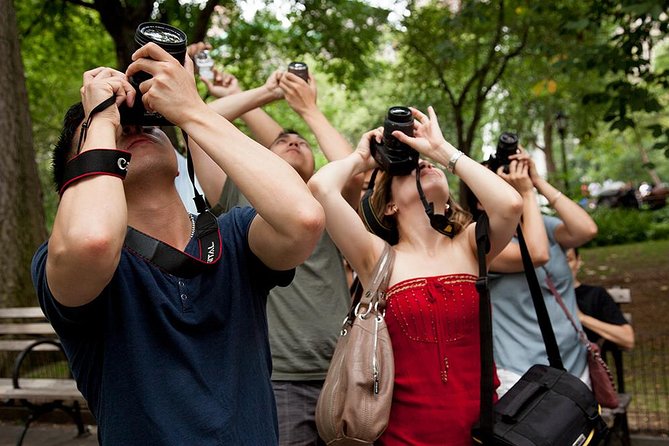
In between major architecture names, you’ll also see the Pershing Square Signature Center, a complex of three theaters just off Broadway. This isn’t just random wandering. It adds variety to the photo mix: a different architectural flavor and a chance to shoot something with a more arts-and-theater vibe.
I like these small diversions because they break the rhythm. Even if you’re mainly there for famous buildings, a quick change in subject can help you understand framing and angle choices across different styles.
What You’ll Learn That Actually Changes Your Photos
This tour is priced like a quick hit, but the teaching is what keeps it valuable. Based on the feedback, the instruction doesn’t focus on vague inspiration. It focuses on practical behavior with your camera.
Here’s the kind of learning you can expect you’ll use right away:
- Angle-based composition so the photo looks intentional, not accidental.
- Camera abilities you may not be using—the guide helps you understand what your gear can do.
- Boring space elimination, which is big in real-world travel photography. If your image has empty, distracting areas, it won’t matter how famous the building is.
- Personalized recommendations depending on your interest and skill level, rather than one-size-fits-all directions.
And yes, you also pick up city knowledge along the way. One of the strongest pieces of praise is that the guide shared details about New York from a resident perspective—useful stuff that helps you understand what you’re seeing, not just how to photograph it.
Price and Value: Is $125 Worth It?
At $125 per person for about 3 hours, you’re paying for three things: time, expert coaching, and some covered access.
You get:
- A professional photographer guide focused on shooting technique.
- Entry/admission included for Grand Central Terminal and New York Public Library, plus Bryant Park access listed as included.
- Guided help at multiple iconic locations, with short stop times that force you to practice fast.
The hidden value is that the guide helps you avoid wasted trips. If you’ve ever tried to self-plan these shots and ended up with awkward angles, cluttered frames, or missed lighting, this tour saves you that trial-and-error time. You also get a small group, which means your attention from the guide is more likely to stay on you.
The only extra cost is what you bring. A digital camera isn’t provided, so you’re bringing your own gear (camera or phone). If you’re already a shooter, the tour is mostly about skill transfer, not buying anything new.
Who This Tour Suits Best (And Who Might Not Love It)
This works especially well for:
- Beginners who want a clear path to better photos without feeling lost.
- Intermediate photographers who want feedback on angles and composition choices.
- People who want to cover multiple landmarks in a short window with direction at each stop.
You might be less happy if you:
- Want long, slow sessions at one building. This tour is short-stop by design.
- Hate walking and moving through crowds. You’re dealing with Manhattan pace.
- Expect the guide to slow down the schedule for extended experimentation. You’ll get coaching, but timing stays tight.
If you’re comfortable moving and you want a structured way to photograph Manhattan’s architecture, this is a smart use of a half-day.
Should You Book This Manhattan Architecture Photography Tour?
I’d book it if you want your photos to look like you planned them—even when you didn’t. The combination of pro tuition, a small group, and stops that range from Grand Central’s grandeur to Times Square’s light-and-motion chaos makes it a practical way to level up fast.
Skip it if you’re looking for a long, relaxed wandering day or if you’re expecting a single-site deep study. This is a hands-on sprint through major architecture moments.
FAQ
FAQ
How long is the Manhattan Architecture Photography Tour?
It’s about 3 hours.
How much does the tour cost?
The price is $125.00 per person.
Where do we meet?
You start at Pershing Square, 90 E 42nd St, New York, NY 10017, USA.
Is a digital camera included?
No, a digital camera is not included.
What’s the group size limit?
The tour has a maximum of 8 travelers.
What language is the tour offered in?
The tour is offered in English.
What admission tickets are included on the stops?
Entry/admission is included for Grand Central Terminal and New York Public Library, and Bryant Park is also listed as included. Chrysler Building and Times Square are listed as ticket-free stops.
Is there a weather requirement?
Yes. The experience requires good weather. If it’s canceled due to poor weather, you’ll be offered a different date or a full refund.
Can I cancel for a full refund?
Yes. You can cancel up to 24 hours in advance for a full refund.
Are children allowed?
Children must be accompanied by an adult.