REVIEW · NEW YORK CITY
NYC After-Dark Photography Tour
Book on Viator →Operated by New York City Photo Safari · Bookable on Viator
Night shots in NYC are magic.
This NYC After-Dark Photography Tour puts you in the right places at the right time, with hands-on coaching so you can turn neon chaos into clear photos. I like that it’s built around practical skills—long exposures in Times Square and flash technique in Bryant Park—so you’re not just sightseeing with a camera.
Two things I really like: the small group size (max 4 travelers) makes it easier to get help with your camera settings, and the route targets recognizable landmarks without charging extra at most stops. One consideration: you’ll spend a big chunk of the time in busy public areas at night, so if you’re sensitive to crowds or you hate walking around with gear, plan to stay flexible.
In This Review
- Key highlights worth planning for
- Night Photography in Times Square: Why This Route Makes Sense
- Price and Group Size: Getting Real Coaching for $150
- Meeting at Times Square: Fast Start, Easy Navigation
- Stop 1: Times Square Long-Exposure Lesson (The 2-Hour Glow)
- Drawback to consider at Stop 1
- Stop 2: Bryant Park Flash Practice (20 Minutes, Big Difference)
- What you’ll likely notice
- Stop 3: US Army Recruiting Office in Times Square (15 Minutes)
- Drawback to consider
- Stop 4: ABC Studios and the News Ticker View (15 Minutes)
- Why this matters
- Stop 5: Times Square / Theater District Crossroads (30 Minutes)
- Stop 6: Empire State Building at Night (15 Minutes, Admission Not Included)
- Important note on cost
- What to Bring (and How to Set Yourself Up to Learn)
- Timing, Weather, and the Reality of Night Shoots
- Who This Tour Suits Best (and Who Should Rethink It)
- Should You Book NYC After-Dark Photography Tour?
- FAQ
- How long is the NYC After-Dark Photography Tour?
- How many people are in the group?
- What’s included, and what isn’t?
- Do I need a ticket for the stops?
- What language is the tour offered in?
- Is free cancellation available?
Key highlights worth planning for
- Long-exposure coaching in Times Square so you can control light trails and sharp subject framing
- Flash technique practice in Bryant Park for better nighttime portraits and scenes
- Icon stops built for photos including the ABC news ticker area and other Times Square landmarks
- Guided tripod placement ideas to help you set up confidently (and avoid blocking people)
- Empire State Building at night is a great finish, but tickets aren’t included
Night Photography in Times Square: Why This Route Makes Sense
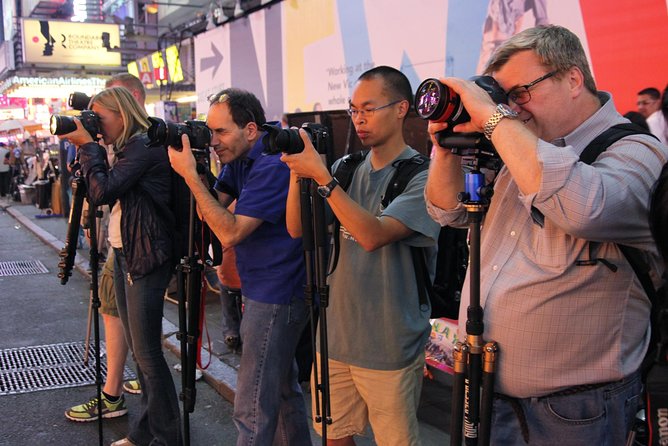
Times Square at night can be a photo problem and a photo gift. The lights are everywhere, so your camera can either nail the scene or turn it into a glowing blur. This tour is designed to help you aim for the second option—clear, intentional images—by teaching the two big tools for night work: long exposure and flash.
I also like how the tour doesn’t just “point and shoot.” It slows things down so you can learn why certain settings help. That matters in NYC because the city is bright, dark, and reflective all at once.
You can also read our reviews of more photography tours in New York City
Price and Group Size: Getting Real Coaching for $150
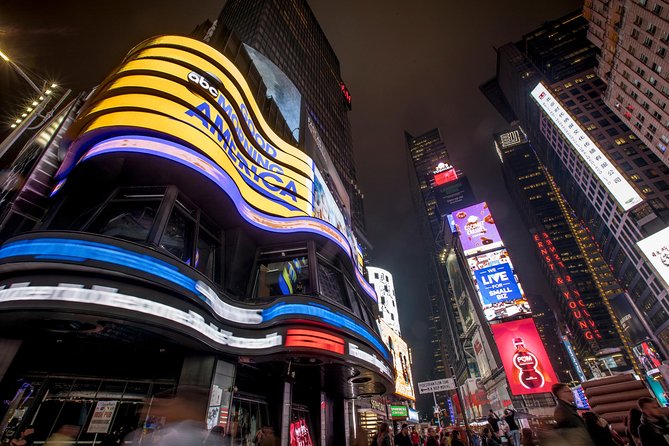
At $150 per person for about 4 hours, this isn’t a cheap add-on—but it can be good value if you’re the kind of person who wants to improve instead of just take snapshots. The tour includes a professional photographer guide and local taxes, and it keeps the group very small (up to 4 travelers).
That small size is the hidden benefit. In a bigger group, you often wait your turn for help. Here, you’re more likely to get specific feedback for your camera—especially if you’re learning long exposures, or you’re figuring out how your camera’s built-in flash behaves at night.
The one thing to watch: transportation and hotel pickup/drop-off aren’t included, so you’ll need to get yourself to Times Square and move between stops on your own. If you’re relying on a driver or a transfer, factor that into your total cost.
Meeting at Times Square: Fast Start, Easy Navigation
You meet in Times Square (New York, NY 10036) and you also return to Times Square at the end. That’s helpful because you don’t have to plan the last-mile logistics for getting back home or to your hotel.
Also, the tour uses a mobile ticket, which is great for a night activity when you don’t want to juggle paper confirmations. And because it’s near public transportation, you should be able to get there without much hassle if you’re coming from another neighborhood.
Stop 1: Times Square Long-Exposure Lesson (The 2-Hour Glow)
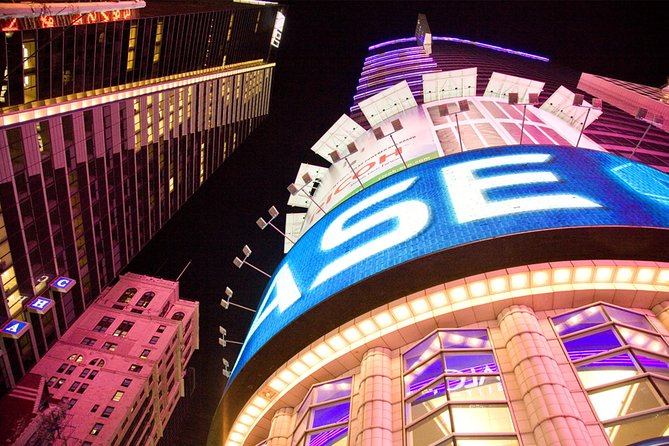
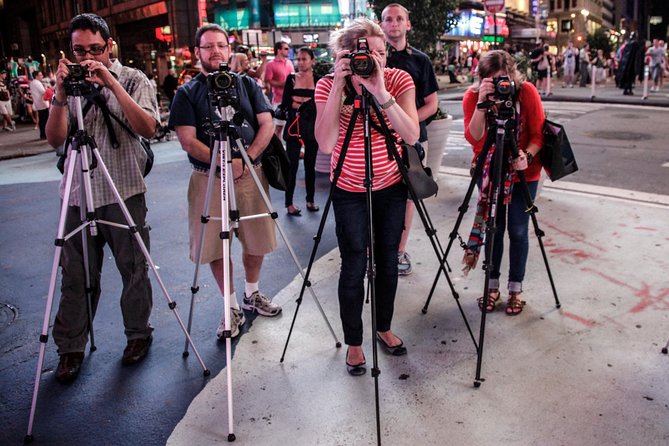
This is where the tour earns its name: the first big session is Times Square, with a focus on long exposure photography. Times Square is basically a lab for night light. You have signage, street-level reflections, and moving elements (like cars and people). Long exposure lets you turn some movement into a deliberate effect.
What makes this stop worth your time is the “learn the method” approach. Instead of hoping you’ll get a good shot by accident, you’ll get guided help on how to handle the light so your photos don’t just become bright mush.
A practical takeaway from the tour style: the guide helps with setup so you can work without chaos. One review specifically calls out the instructor’s organized ideas for where to position a tripod. That’s a big deal here, because Times Square is crowded and tripods can become a problem if you set up thoughtlessly.
Drawback to consider at Stop 1
Times Square is busy. Even with a guide, you may find it harder to get a perfectly quiet shot or an empty frame. If you’re expecting a calm photography session, adjust your expectations: you’re learning to photograph in a real, active scene.

Stop 2: Bryant Park Flash Practice (20 Minutes, Big Difference)
Next up is Bryant Park, and the focus shifts from long exposure to how to use your flash. Night photography often breaks down into two categories: you either use available light (slow shutter, longer exposures) or you add flash to control brightness on your subject.
Bryant Park is a great teaching location because it offers a different lighting feel than Times Square. You can use flash to improve clarity—especially for people, closer objects, and scene details that would otherwise fall into darkness.
This is also one of the fastest learning stops on the tour. In about 20 minutes, you’ll learn enough to experiment right away. And a reviewer highlights that they learned more about using their camera’s inbuilt flash, which suggests the tour doesn’t assume you have pro gear.
What you’ll likely notice
Flash changes everything: it can freeze detail, improve contrast, and reduce the gray look that night photos sometimes get. But it also requires good positioning and awareness of how nearby surfaces reflect light.
Stop 3: US Army Recruiting Office in Times Square (15 Minutes)
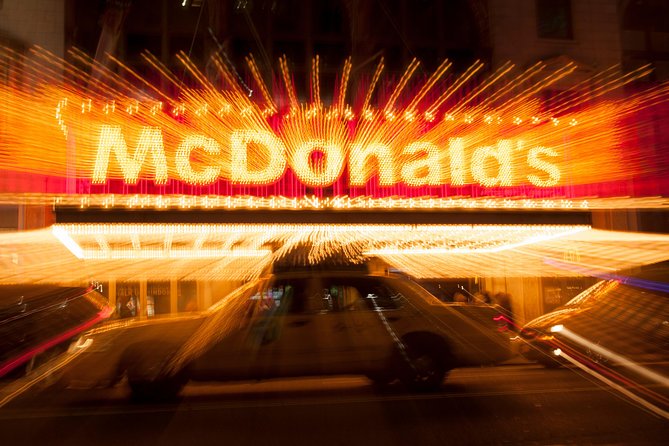
You then photograph the US Army Recruiting Office in Times Square. This kind of stop is smart because it’s a landmark with strong visual identity. Even when you’re practicing night techniques, you still need real subjects that help you judge your settings.
A 15-minute window is exactly enough time to try a few angles and refine your approach. At night, that trial-and-feedback cycle is where progress comes from.
Drawback to consider
Short stops mean you’ll need to be ready quickly. If you’re the type who likes to linger before shooting, this part may feel brisk. The upside is you’ll be learning how to work fast in a nighttime setting.
Stop 4: ABC Studios and the News Ticker View (15 Minutes)
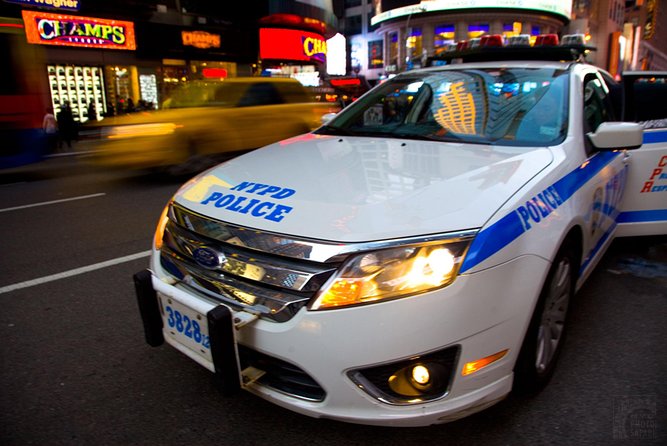
Next is The View at ABC Studios, where you learn how to photograph the ABC news ticker in Times Square. This stop is for anyone who wants that classic Times Square look—text, signage, and layered light.
The key skill here is handling bright, high-contrast elements. You want the ticker readable while still capturing the atmosphere around it. That’s not automatic at night, especially with motion and reflections in the area.
Why this matters
A lot of nighttime photos fail because the eye sees something crisp, but the camera records it differently. When you practice with a real visual target like a ticker, you start to understand what your camera is doing and how to correct it.
Stop 5: Times Square / Theater District Crossroads (30 Minutes)
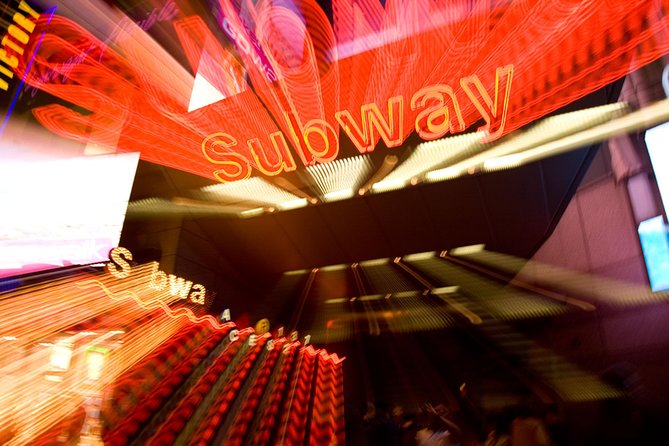
Then you cross into the Times Square / Theater District area for about 30 minutes. This stretch is useful for widening your shot selection. After the “teach the technique” stops, you get time to put it together: long exposure in one kind of scene, flash in another, and framing choices that make the final photo feel intentional.
Also, this is one of the stops where your photos become more personal. You can focus on composition: lines, angles, reflections, and subject placement in a dense grid of lights.
Stop 6: Empire State Building at Night (15 Minutes, Admission Not Included)
The tour ends with a chance to photograph the Empire State Building at night for about 15 minutes. This is the iconic finish people want—and it’s a great subject for night photography because it has structure, height, and lots of light contrast.
One review mentions a particularly perfect moment when the moon was close to the Empire State Building, creating a strong visual backdrop. Even if the sky doesn’t cooperate the same way, you’ll still get a prime skyline subject for night experimentation.
Important note on cost
Empire State Building admission is not included, so if the idea of going inside matters to you, you’ll need to plan that separately. If your goal is primarily photography from the outside, you can still get strong results without adding an extra ticket.
What to Bring (and How to Set Yourself Up to Learn)
The tour data doesn’t list specific gear requirements, but the teaching focus strongly suggests you’ll benefit from having the right basics. Even if you’re shooting with a phone, you’ll want to understand your device’s night modes. If you’re using a camera, your ability to do long exposures and use flash will drive what you can practice.
Here’s what you should consider bringing:
- Your camera (or phone) with the ability to change settings for night shots
- A way to stabilize your camera if possible (tripods matter for long exposure, and at least one review points to tripod setup guidance)
- Your flash-ready gear (you’ll be practicing flash at Bryant Park)
- Comfortable walking shoes and layers, since it’s an after-dark activity
And yes, don’t overpack. This is a 4-hour walk-and-shoot style experience, so gear that’s annoying to carry will slow you down.
Timing, Weather, and the Reality of Night Shoots
This experience depends on good weather. That’s normal for night photography, because rain and heavy cloud can change reflections and reduce visibility. If it gets canceled due to poor weather, you should expect to be offered a different date or a full refund.
Because the tour runs after dark and focuses on night techniques, it’s best to show up ready to work quickly. Even a small delay can make the “practice window” feel short, since some stops are only 15 minutes.
Who This Tour Suits Best (and Who Should Rethink It)
This tour is a strong fit if:
- You want hands-on night photography instruction rather than just walking around with a guide
- You’re working with a camera (or phone) and want to understand how long exposure and flash work
- You like iconic NYC sights but want to learn how to photograph them well
It may be less ideal if:
- You dislike crowds and tight urban spaces at night
- You need hotel pickup or full transportation included
- You’re hoping for a quiet, low-activity photo day without needing to set up gear
Because it holds a maximum of 4 travelers, it’s also a good option for people who want a personal teaching pace without paying for a private lesson.
Should You Book NYC After-Dark Photography Tour?
I’d book it if your goal is to come home with night photos that look deliberate—not just bright. The mix of Times Square long exposures, Bryant Park flash practice, and a clean arc to the Empire State Building gives you both technique and iconic subjects. The small group size and professional guide make the $150 price feel more reasonable than a generic “night stroll with a camera.”
I’d hesitate if you’re expecting transportation, a low-crowd experience, or a long viewing time at any single landmark. This is a learning-focused route, with quick stops and short practice windows.
If you want to improve your night photography in a way that feels practical and structured, this tour has the right shape for it.
FAQ
How long is the NYC After-Dark Photography Tour?
It’s about 4 hours (approx.).
How many people are in the group?
The tour has a maximum of 4 travelers.
What’s included, and what isn’t?
Included are a professional photographer guide and local taxes. Hotel pickup/drop-off and transportation to/from attractions are not included. Empire State Building admission is not included.
Do I need a ticket for the stops?
The tour includes stops where admission is listed as ticket free, but Empire State Building admission is not included.
What language is the tour offered in?
The tour is offered in English.
Is free cancellation available?
Yes. You can cancel up to 24 hours in advance for a full refund.