REVIEW · NEW YORK CITY
World Trade Center Photo Tour
Book on Viator →Operated by New York City Photo Safari · Bookable on Viator
Sharp lines and big views.
This World Trade Center photo tour turns Lower Manhattan into a hands-on lesson in architectural photography, with guided stops around the Oculus, Freedom Tower area, and the 9/11 Memorial. I love that you’re not just sightseeing—you get specific coaching on lighting, angles, and composition as you walk. I also love the small-group pace, where a professional photographer guide can actually point out what to adjust while you’re standing right there.
The biggest value for me is how the tour teaches you to see, not just shoot. You’ll practice photo problem-solving on the spot—balancing lines and symmetry in the Oculus, handling reflections, and using exposure choices to get a certain mood. That kind of quick, real-world instruction is hard to replicate on your own.
One possible drawback: One World Observatory admission isn’t included, and the tour does not include entry. If you want to go up, you’ll need a separate plan for that.
In This Review
- Key highlights you’ll actually feel on the walk
- Why this World Trade Center photo tour feels different from “just walking around”
- Price and value: $125 per group is for coaching, not just locations
- Where you meet and where you end: two different “anchor” locations
- Stop 1: National 9/11 Memorial & Museum—frame the emotion, then frame the geometry
- Stop 2: One World Observatory area—learn the building rules, skip the ticket
- Stop 3: The Oculus—this is where the tour earns its keep
- Stop 4: World Trade Center Station (PATH)—photo time inside the station
- Plus: a pause at one of Manhattan’s oldest churches
- The photo lessons you’ll reuse later: angles, lines, light, and control
- Weather, walking pace, and who this tour suits best
- What to do if you care about the best photos (not just more photos)
- Should you book the World Trade Center photo tour?
- FAQ
- How long is the World Trade Center Photo Tour?
- What group size should I expect?
- Where do I meet, and where does the tour end?
- Is admission to One World Observatory included?
- Are tickets included for the 9/11 Memorial & Museum, the Oculus, and PATH Station?
- What’s included in the price?
- What’s not included?
- Does the tour run in bad weather?
Key highlights you’ll actually feel on the walk
- Architectural coaching at multiple Lower Manhattan landmarks so you can apply tips instantly
- Small-group feel (priced for up to 6, capped at 8) that keeps the guide’s attention on you
- Oculus photo lessons focused on lines, balance, reflections, and exposure effects
- Free-access stops at the 9/11 Memorial area, Oculus session, and PATH station photo time
- A practical walk-and-shoot route that focuses on what to aim for and how to frame it
Why this World Trade Center photo tour feels different from “just walking around”
Lower Manhattan has no shortage of photo spots. The difference here is that you’re guided through the area with a clear focus: architectural photography—how buildings and public spaces behave in real light.
You’ll spend about 2 hours 30 minutes on foot, with multiple short stops that add up to a photo session rather than a long lecture. The pacing is designed so you get several chances to test what your guide is telling you—then immediately try it again as conditions change.
The tour is mobile ticket based. That’s one less thing to manage in a busy area where lines and crowds can slow you down.
You can also read our reviews of more photography tours in New York City
Price and value: $125 per group is for coaching, not just locations
At $125 per group (up to 6), this isn’t a bargain-priced photo walk. The value is that you’re paying for:
- A professional photographer guide giving real-time instruction
- Local taxes included
- Several stops with free admission for certain photo sessions
And importantly: the tour is focused on techniques you can reuse. Even if you only care about getting a handful of great shots, the guide’s lighting and composition tips can upgrade your results fast.
What’s not included matters too. Gratuities aren’t included, and there’s no hotel pickup/drop-off unless you selected an option (and the data here says it’s not included if that option isn’t selected). So think of this as a “meet and go” tour with your own start point, not a door-to-door experience.
Where you meet and where you end: two different “anchor” locations
You’ll start at Silverstein Family Park, Greenwich St, New York, NY 10007. The end point is at Oculus World Trade Center, 185 Greenwich St LL3110, New York, NY 10006.
That matters because the route is designed around Lower Manhattan’s most camera-friendly angles and transitions. You’re not looping back to your exact starting spot like some tours do. If you’re planning dinner or subway connections afterward, build your route around that end location.
If you like to arrive early to get your bearings, the first meeting point is a good place to do it. Parks and plazas are often easier to orient yourself than inside busy transit corridors.
Stop 1: National 9/11 Memorial & Museum—frame the emotion, then frame the geometry
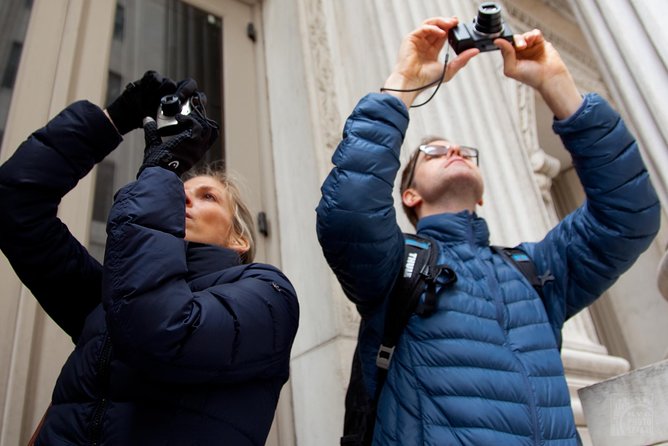
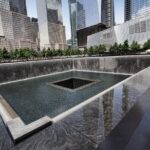
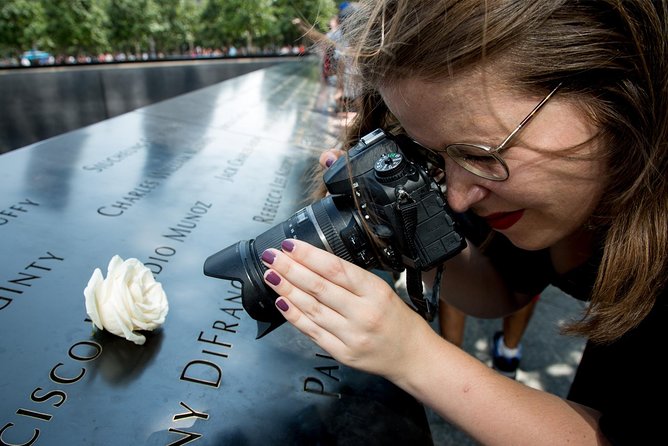
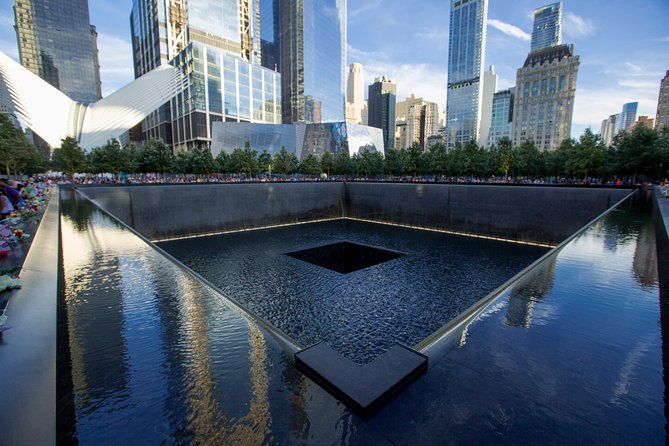
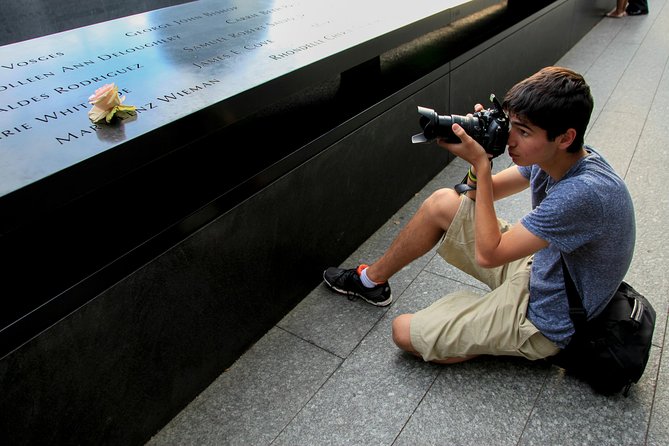
The tour begins with the National 9/11 Memorial & Museum. The focus here is described as architectural and modern-landmark photography, plus the idea of photographing something that’s both new and deeply meaningful.
You get about 30 minutes, with admission ticket listed as free for this stop. That makes it a straightforward start: you can concentrate on composition without spending time negotiating entry logistics.
What’s especially useful for your photos is the likely shift from “I see the landmark” to “I see the lines.” Memorial design gives you strong visual structure—straight edges, repeated forms, and reflective surfaces—so your guide can help you translate that into shots that feel intentional, not accidental.
Possible drawback to keep in mind: this kind of place can be visually intense, and crowds can affect how long you can stand in one spot. If you want calmer framing, arrive with a plan for a few key angles before you settle.
Stop 2: One World Observatory area—learn the building rules, skip the ticket
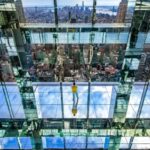
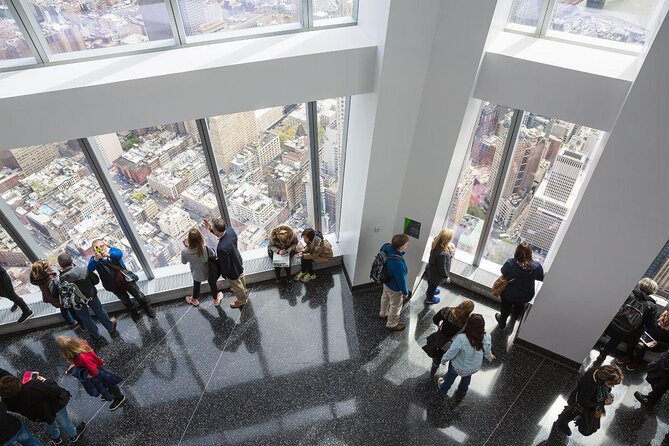
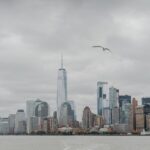
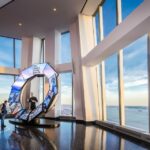
Next comes time focused around the Freedom Tower / One World Observatory area, with about 30 minutes scheduled. The key detail: the tour will not include entry to One World Observatory, and the admission ticket is listed as not included.
So what do you get here? Instruction that covers both exterior and interior architectural photography concepts—the guide will teach you how to think about how the building looks from outside, plus how those design ideas translate to what you shoot.
This is useful because many people treat One World’s exterior like a single “pretty skyline” task. The coaching helps you treat it as a shape with scale, vertical rhythm, and a lot of lighting variables.
How to decide if this stop fits your goals:
- If your goal is the tower area from the street and nearby viewpoints, you’re in the right place.
- If your goal is going inside One World Observatory, you’ll need a separate ticket and timing plan.


Stop 3: The Oculus—this is where the tour earns its keep
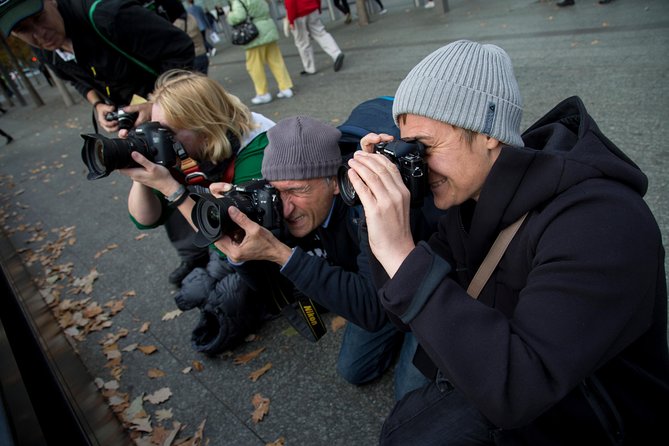
If you want the tour’s most teachable moment, it’s the Oculus. You get about 30 minutes, and the session lists admission ticket free.
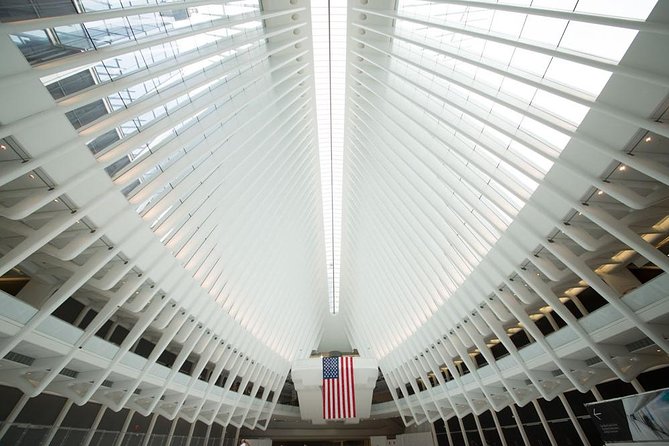
This stop is all about composition and structure. Your guide pushes you to understand lines and balance, which is exactly what makes the Oculus so photogenic. The building’s repeating shapes and strong perspective create clear visual “rules,” and your camera becomes a tool to show those rules.
You also get practical guidance for real shooting conditions:
- Anticipating lighting conditions before you take a shot
- Scene management—how to handle bright highlights, darker interiors, and mixed surfaces
- Using reflections and how light behaves on different materials
- Experimenting with over exposure for an ethereal feel
That last point is great because it gives you permission to try something other than your usual default settings. Even if you don’t overexpose, you’ll walk away knowing when the lighting can support a softer, dreamier look.
One more practical note: the Oculus can be visually busy in real life. Your guide’s job is to help you pick a manageable frame—so your final photo doesn’t look like you shot a corridor full of distractions.
Stop 4: World Trade Center Station (PATH)—photo time inside the station
The final planned photo stop is World Trade Center Station (PATH). You get about 10 minutes here, and it’s listed as admission ticket free.
Ten minutes sounds short, but this is the kind of place where a fast, guided plan helps. Station interiors are full of lines, reflections, and repeated architectural elements—the same ingredients you practiced in the Oculus, just in a more enclosed setting.
This stop can be especially valuable if you care about photos that feel modern and graphic. You’re not chasing only skyline shots; you’re collecting images that show transit architecture as a designed space, not just a place to pass through.
Plus: a pause at one of Manhattan’s oldest churches
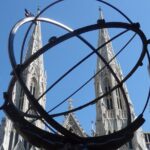
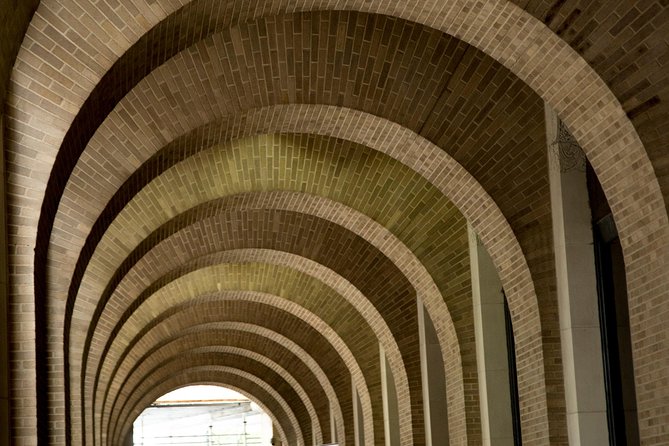
During the walk, there’s also a stop for one of the oldest churches in Manhattan. Even without a named building here, the point is clear: you’ll have a change of pace from the ultra-modern shapes and get a chance to photograph older religious architecture with different textures, proportions, and lighting behavior.
That mix is smart. A photo tour that only focuses on one style can make your learning repetitive. By adding a church stop, you’re likely to notice how your composition skills transfer across eras.
The photo lessons you’ll reuse later: angles, lines, light, and control
This tour is built around instruction you can take straight home. You’re not just told what to photograph—you’re coached on how to photograph it.
Here are the themes your guide works on:
- Lighting and angles for architectural shots, where shadows can make or break the image
- Strong composition so you include just enough context to show scale
- Lines and balance, especially in symmetry-heavy spaces like the Oculus
- Reflections, which can either ruin a frame or add drama depending on your timing
- Exposure choices, including a guided suggestion to try overexposure for an airy, ethereal look
As you move between stops, you’ll also learn how fast conditions change. A bright outdoor moment can become a darker indoor one, and the “same camera settings” approach often stops working. The coaching helps you react instead of waiting for perfect luck.
Weather, walking pace, and who this tour suits best
The tour operates in all weather conditions, so you’ll want to dress appropriately. That’s important in a place like this, where you’ll spend time on foot moving between landmarks and photographing in transit and open areas.
There’s also a moderate physical fitness requirement. You should be comfortable walking around Lower Manhattan for a 2+ hour outing with multiple stops. If you prefer slow, minimal walking sightseeing, this may feel like a “photo-focused sprint.”
The minimum age is 18, and children must be accompanied by an adult. So it’s an adult-focused experience by design.
Group size is capped at a maximum of 8 travelers, with highlights noting a small group feel—priced for up to 6. Either way, it’s clearly meant to stay intimate enough that your questions don’t get lost.
What to do if you care about the best photos (not just more photos)
If your goal is to come home with a small set you’re proud of, treat each stop like a mini mission.
Before you move on, ask yourself:
- Which lines do I want to lead the viewer’s eye?
- Am I letting too much clutter compete with the main subject?
- Where are reflections coming from, and are they helping or distracting?
- Did I let the light dictate my frame, or did I force it?
That’s exactly what the tour structure supports: short sessions, coaching, and then time to apply what you just learned.
Bring your camera (or phone) and be ready to experiment. The Oculus lesson on reflections and overexposure is the kind of guidance that pays off only if you actually try.
Should you book the World Trade Center photo tour?
I’d book it if you want a guided, technique-first photo outing in Lower Manhattan—especially if you’re serious about architectural photography and you like learning by doing.
This is also a solid choice if you’re traveling with limited time. In about 2 hours 30 minutes, you cover major photo targets: memorial area, Freedom Tower region viewpoints, the Oculus, and PATH station.
Skip it (or plan around it) if your top priority is One World Observatory admission, because entry isn’t included and the tour explicitly doesn’t go inside.
If you like to walk, handle all-weather conditions with proper clothing, and you want a pro to help you see lines, light, and composition the right way—this tour is a strong fit.
FAQ
How long is the World Trade Center Photo Tour?
It runs for approximately 2 hours 30 minutes.
What group size should I expect?
The tour is set up as a small group. It’s priced for up to 6 guests, with a maximum of 8 travelers.
Where do I meet, and where does the tour end?
You meet at Silverstein Family Park, Greenwich St, New York, NY 10007. The tour ends at the Oculus World Trade Center, 185 Greenwich St LL3110, New York, NY 10006.
Is admission to One World Observatory included?
No. The tour notes that One World Observatory admission is not included, and it does not include entry.
Are tickets included for the 9/11 Memorial & Museum, the Oculus, and PATH Station?
For the listed photo sessions at the National 9/11 Memorial & Museum, the Oculus, and World Trade Center Station (PATH), the admission ticket is marked as free.
What’s included in the price?
Local taxes and a professional photographer guide are included. The tour uses a mobile ticket.
What’s not included?
Gratuities are not included, and hotel pickup/drop-off is not included unless you selected an option.
Does the tour run in bad weather?
Yes. It operates in all weather conditions, and you should dress appropriately.